Skype
The Skype modules enable you to monitor events, or send a message and download an attachment in your Skype account.
Getting Started With Skype
Prerequisites
A Skype account (create an account at skype.com)
Microsoft Azure Account (create an account at azure.microsoft.com/free)
Notice
The module dialog fields that are displayed in bold (in the Make scenario, not in this documentation article) are mandatory!
Connecting Skype to Make
To connect your Skype account to Make, you need to create a bot and obtain the Microsoft App ID and password in your Microsoft Azure account.
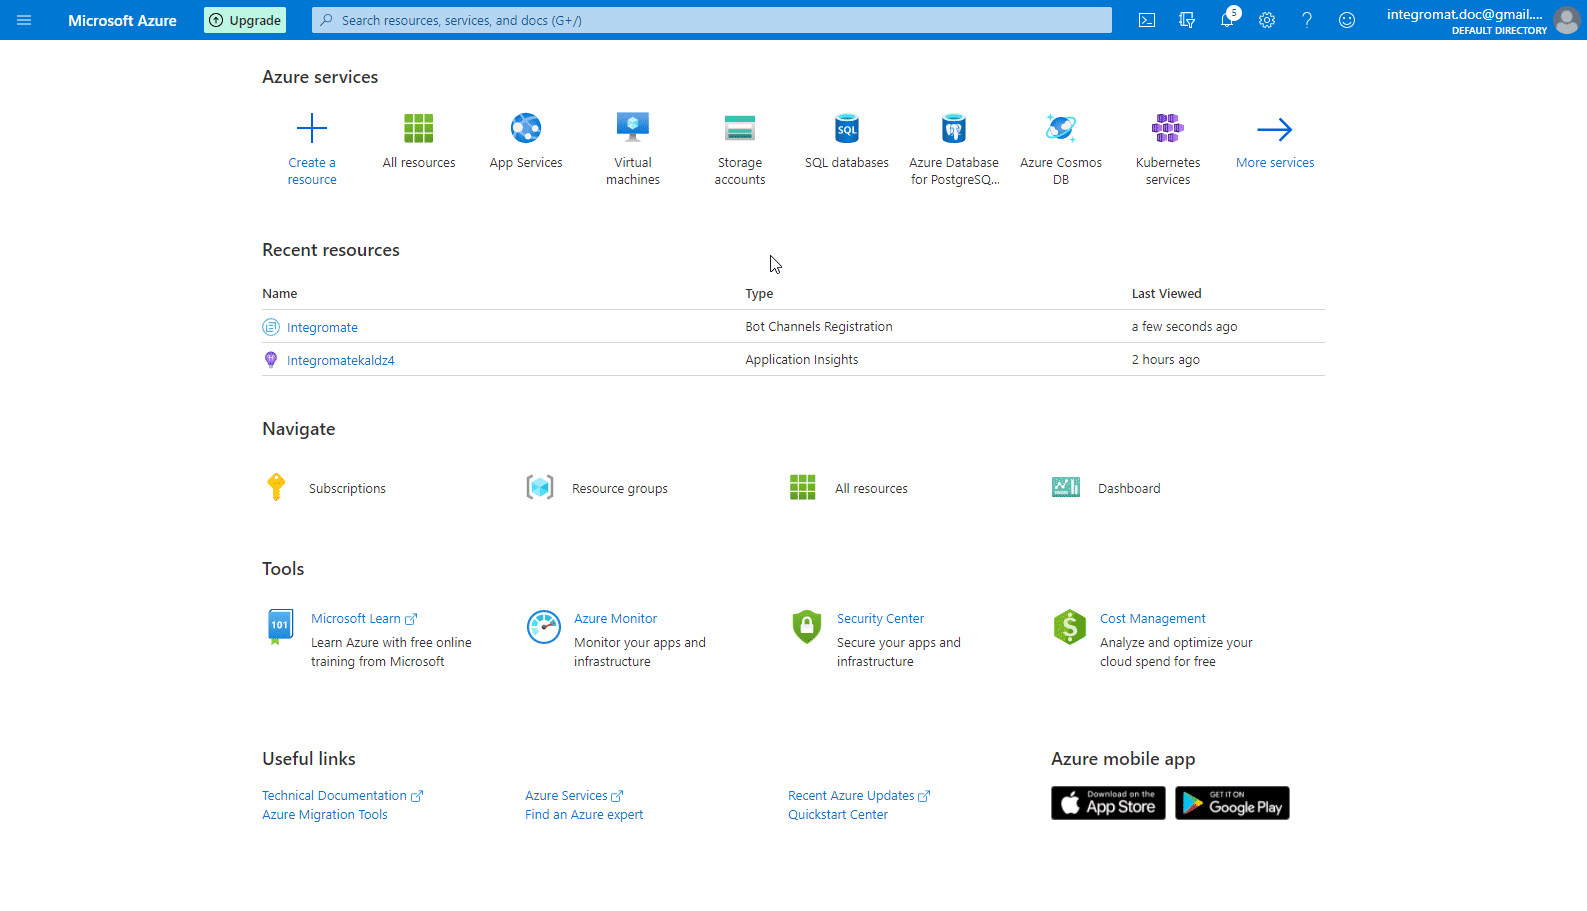
Log in to your Azure Portal.
Click Create a resource.
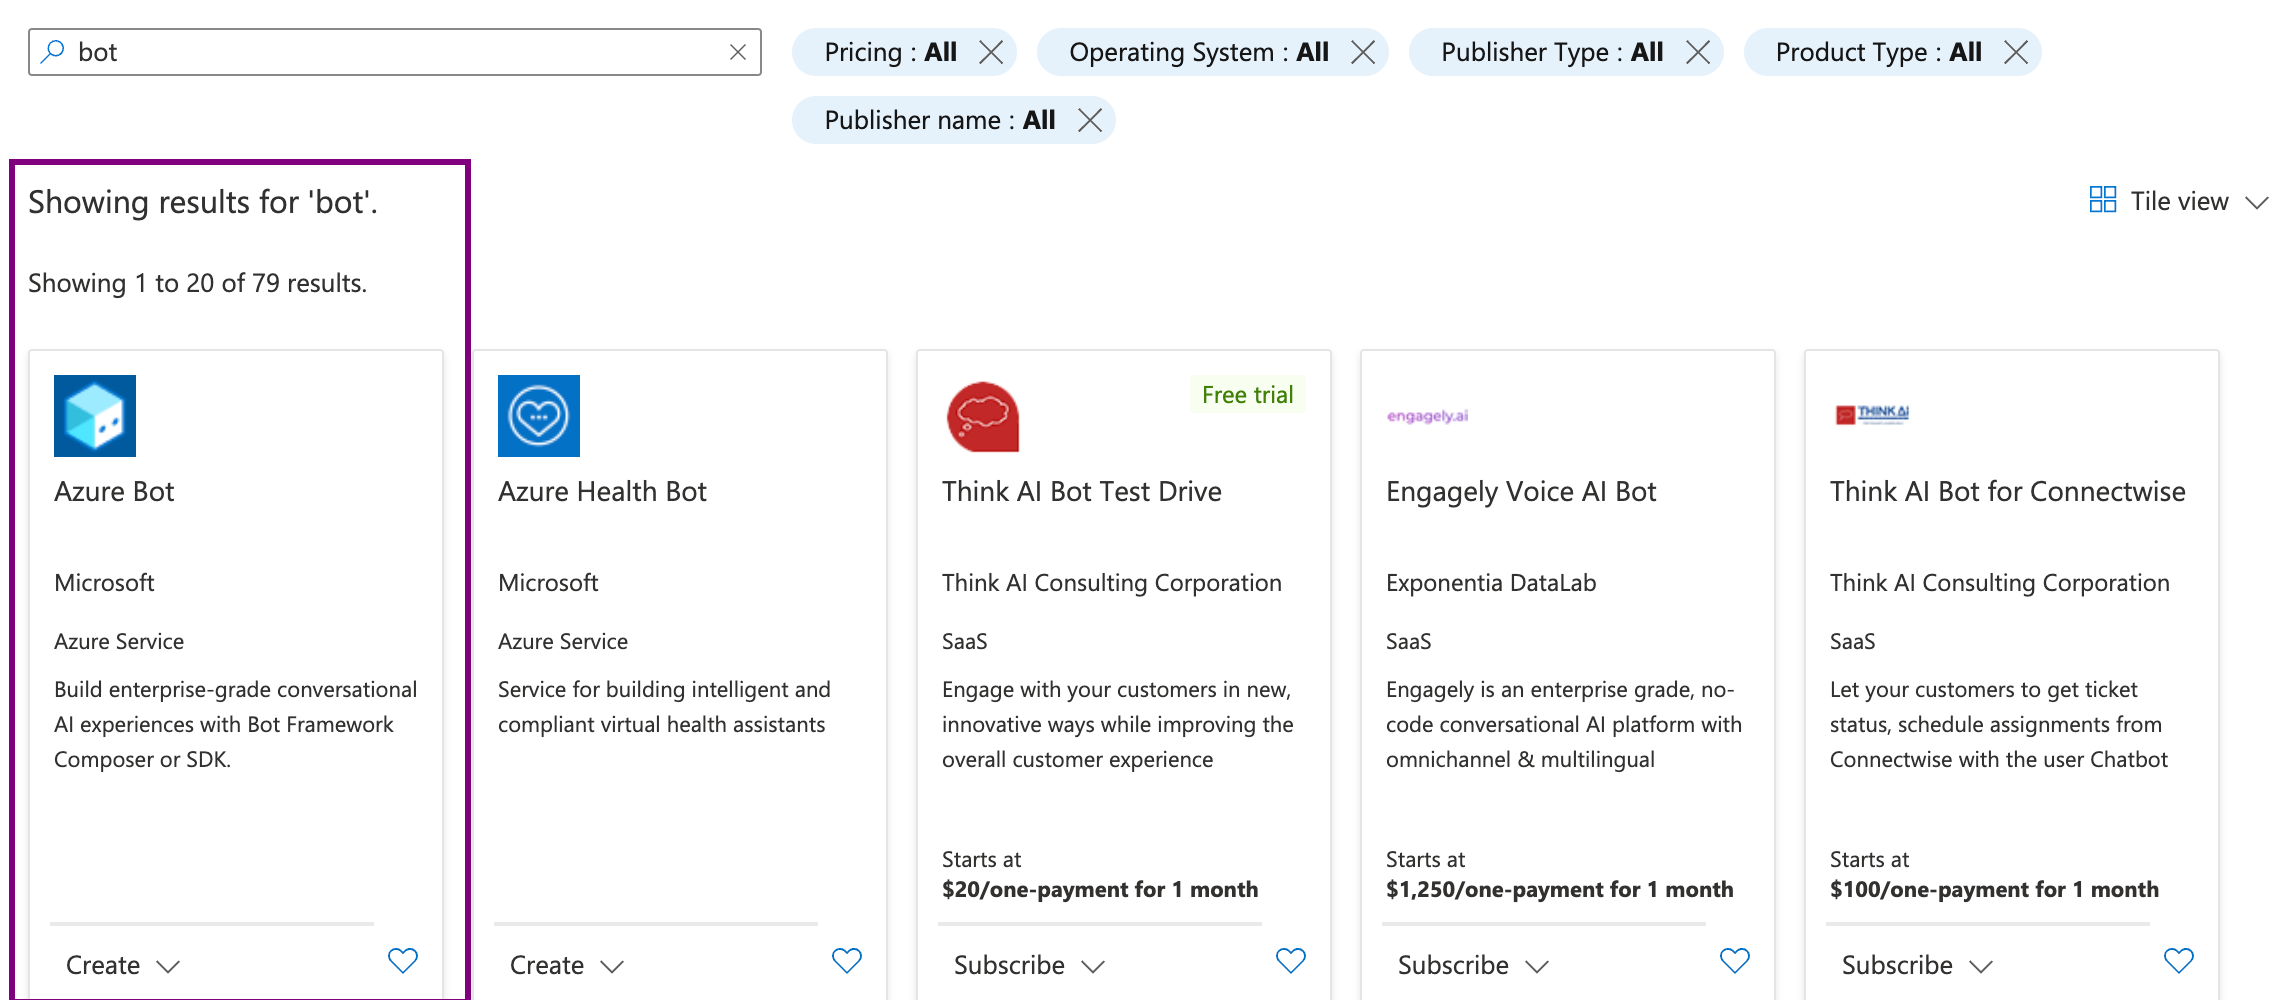
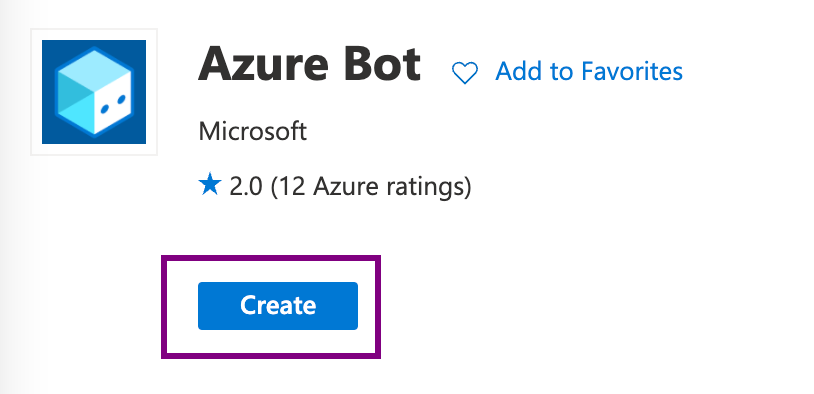
In the top center search bar, type bot. From the drop-down list, select Azure Bot.
Click the Create button.
In the Azure Bot form, provide the required information about your bot, as follows:
Bot handle
Enter the name for your bot.
Subscription
Select the Azure subscription you want to use.
Resource Group
Create a new resource group, or select an existing one.
Location
Choose the geographic location for your resource group. It's usually best to choose a location close to you.
Pricing Tier
Select a pricing tier. You may update the pricing tier at any time. For more information, see Bot Service pricing.
Type of App
Select Multi Tenant from the drop-down.
Creation type
Create a new Microsoft App ID.
Click Review + create. When Microsoft successfully validates the new bot, click Create.
Go to the new resource, and open Channels.
Choose Skype and configure the app. Optionally, you can also configure the other settings in the dialog box, e.g., Disable adding of bot to group conversations option in the Groups tab. Close channel settings.
Click Add to Skype in the Connected Channels list, and add the bot to your Skype contacts.

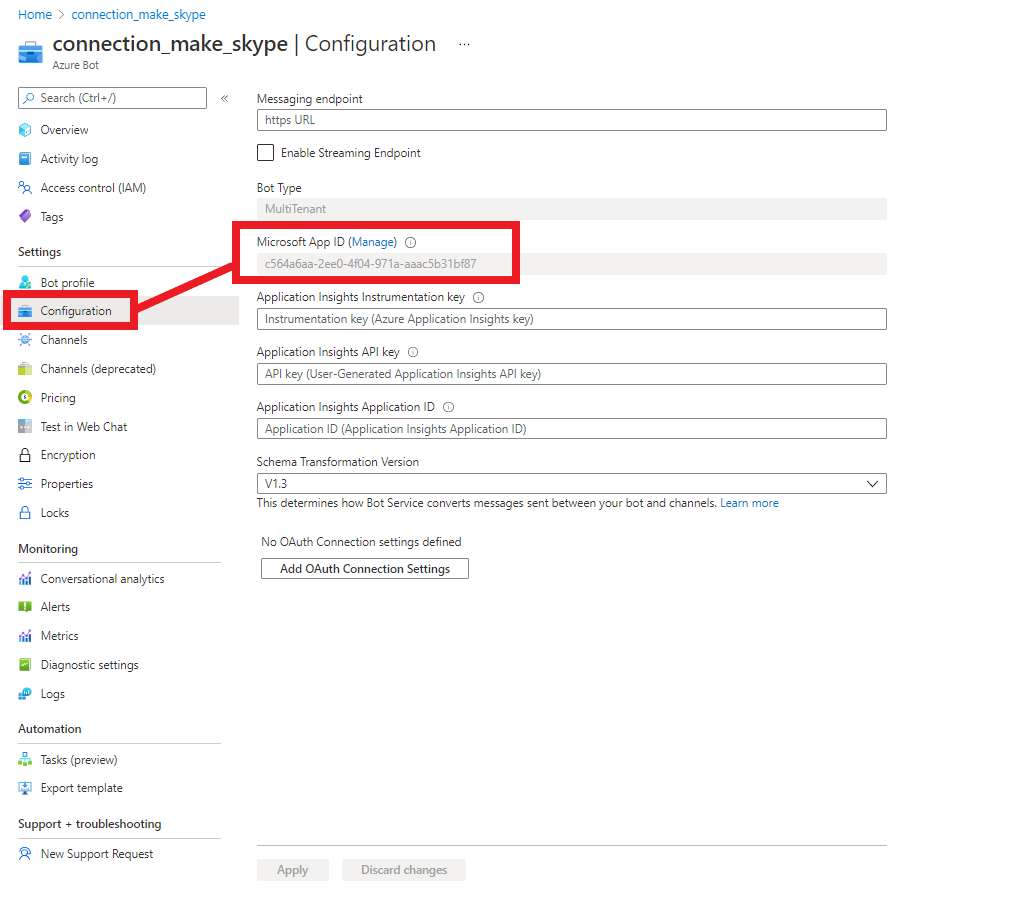
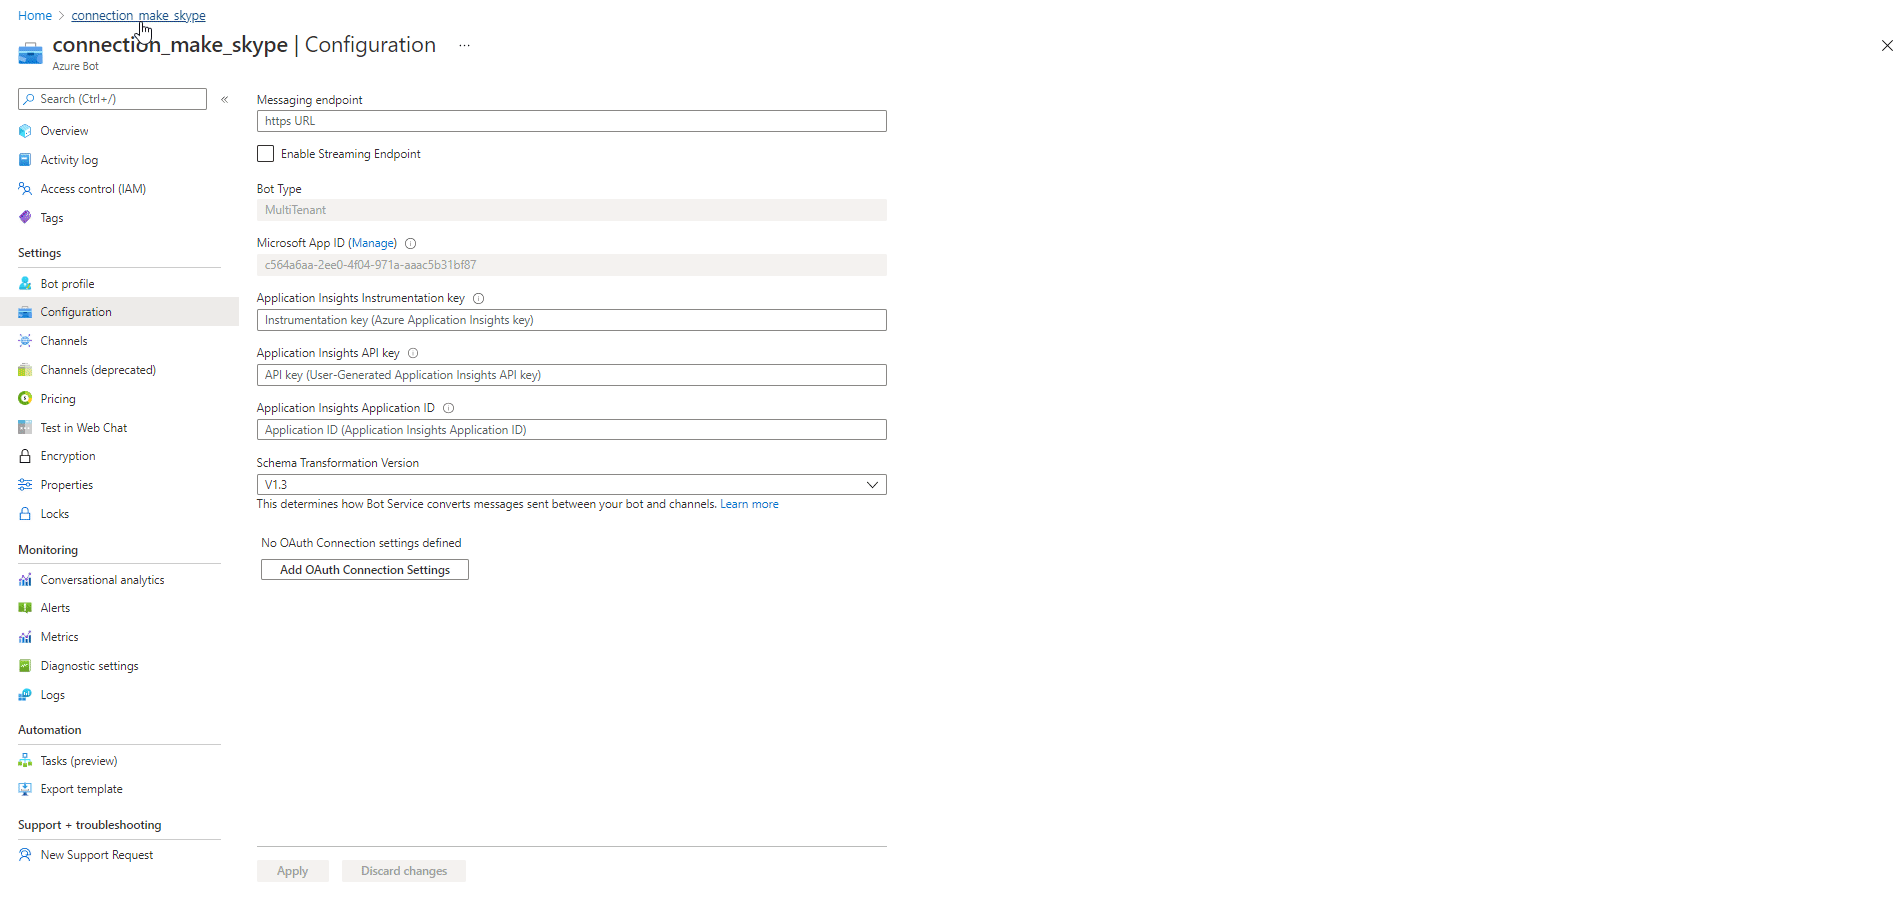
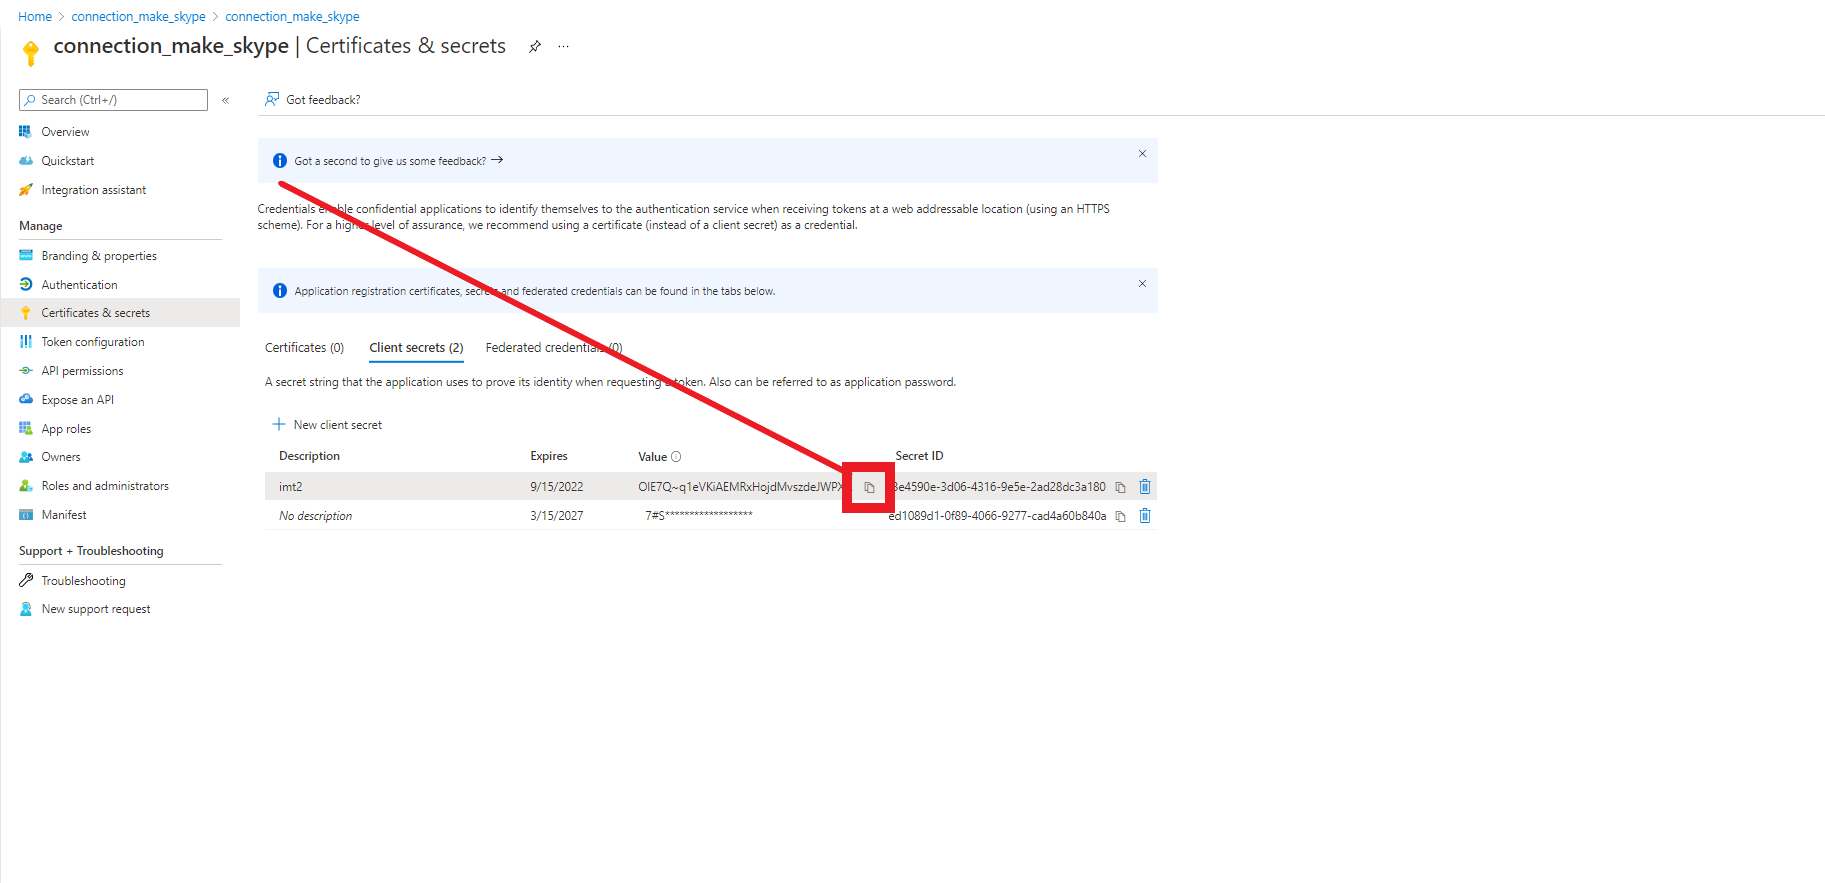
Open Configuration, where you will find the Microsoft App ID.
Click Manage > + New client secret to create a password.
Copy the password now.
Warning
The password will not be visible again after you leave this page.
Go to Make, and open the Skype module's Create a connection dialog. Click Add.

Enter the Microsoft App ID (see step 9 above) and Password (see step 11 above) in the respective fields, and click the Continue button to establish the connection.
The connection has been established. You can proceed with setting up the module.
Triggers
Watch Events
Triggers when a specified event occurs.
The webhook URL needs to be generated in Make and then added to resource settings in the Azure portal.
Add the Watch events module to your Make scenario. Select events you want to filter received data by.
Generate and copy the webhook URL.

Log in to your Azure portal.
Open the desired resource settings, and paste the webhook URL you have copied in step 2 above in the Messaging endpoint field, and click Save.
Now, every time the event occurs, the Watch event module in your Make scenario is triggered.
Actions
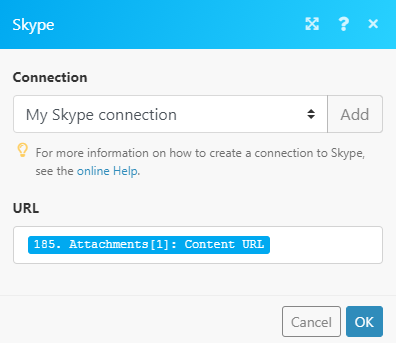
Download an Attachment
Downloads an attachment file.
Connection | |
URL | Enter (map) the URL you want to download attachment file data from. |
Send a Message
Sends a message to the specified conversation.
Connection | |
Conversation ID | Enter (map) the ID of the conversation you want to send a message to. You can map the ID from the Watch events module. 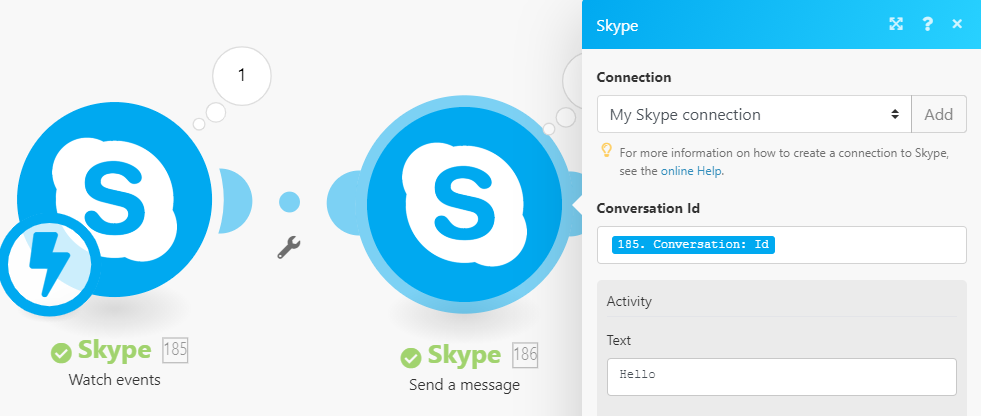 |
Text | Enter the text of the message that is sent from bot to user. |
Text Format | Select the format of the message's text using one of these values: markdown, plain, or xml. For details about text format, see Create messages. |
Attachments | Add Attachment objects that define additional information to include in the message. For more details about attachments, refer to the Attachment Object documentation. |
Actions | Add the action to apply. For more details about actions, refer to the Rich Cards documentation. |
Service URL | Enter the URL that specifies the channel's service endpoint. Set by the channel. |