ClickUp
With ClickUp modules in Make, you can manage the tasks, lists, folders, spaces, targets, goals, comments, views, tags, checklists, tracked time, dependencies, and workspaces in your ClickUp account
To use the ClickUp modules, you must have a ClickUp account. You can create an account at https://clickup.com/.
Refer to the ClickUp API documentation for a list of available endpoints.
Connect ClickUp to Make
To establish the connection in Make:
Log in to your Make account, add a ClickUp module to your scenario, and click Create a connection.
Note: If you add a module with an
instanttag, click Create a webhook, then Create a connection.Optional: In the Connection name field, enter a name for the connection.
Optional: Click Show advanced settings and enter your custom app client credentials. For more information, refer to the ClickUp OAuth app documentation.
If requested, use the following Redirect URI when creating your custom app:
https://www.integromat.com/oauth/cb/oauth2ClickUp does not allow for the creation of multiple connections unless a different OAuth2 app is created for each connection.
Click Save.
If prompted, authenticate your account and confirm access.
You have successfully established the connection. You can now edit your scenario and add more ClickUp modules. If your connection requires reauthorization at any point, follow the connection renewal steps here.
Build ClickUp Scenarios
After connecting the app, you can perform the following actions:
Watch Tasks (triggers when a task or subtask event happens)
Watch Tasks (triggers when a task or subtask is created or updated)
List All Tasks
List Subtasks for a Task
List Filtered Tasks
List All Task Members
List Task Templates
Get a Task
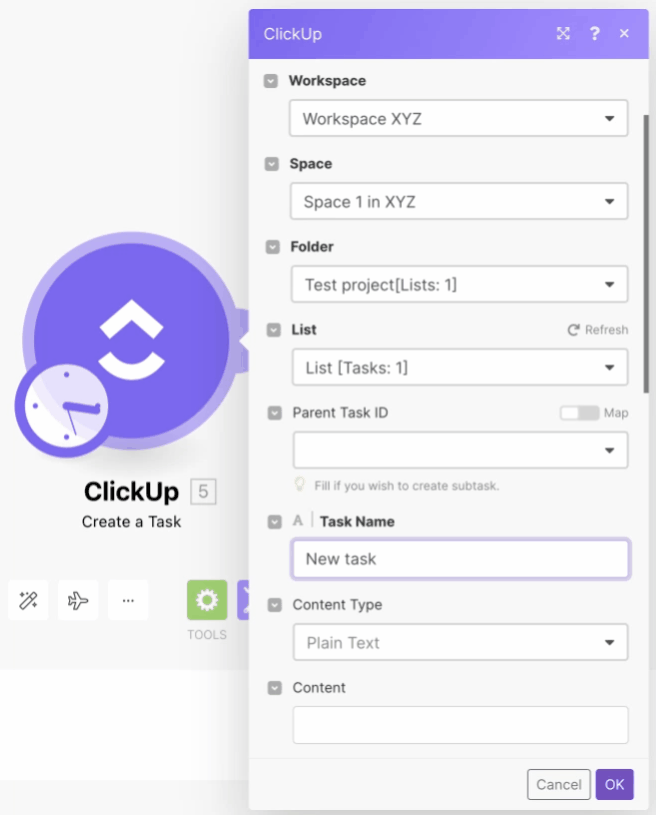
Create a Task
Create a Task (advanced)
Create a Task from a Template
Upload Task Attachment
Edit a Task
Edit a Task with Custom Fields
Edit a Task with Custom Fields (advanced)
Delete a Task
Get Task's Time in Status
Watch Lists
List All Lists
List All Folderless Lists
List all List Views
List All List Members
Get a List
Create a List
Create a Folderless List
Edit a List
Delete a List
Watch Folders
List All Folders
Get a Folder
Create a Folder
Edit a Folder
Delete a Folder
Watch Spaces
List All Spaces
Get a Space
Create a Space
Edit a Space
Delete a Space
Create a Target
Edit a Target
Delete a Target
List All Goals
Get a Goal
Create a Goal
Edit a Goal
Delete a Goal
List All Comments
Post a View Comment
Post List Comment
Post a Task Comment
Update a Comment
Delete a Comment
List All Space Views
List All Team Views
List All Folder Views
List All View Tasks
Get a View
List All Space Tags
Create a Space Tag
Add Tag to a Task
Remove Tag from a Task
Edit a Space Tag
Delete a Space Tag
Create a Checklist
Create a Checklist Item
Edit a Checklist
Edit a Checklist Item
Delete a Checklist
Delete a Checklist Item
List Time Entries
Get a Time Entry
List Time Entry's Histories
Create a Time Entry
Start/Stop a Timer
Update a Time Entry
Delete a Time Entry
List Tracked Time
Add Tracked Time
Edit Tracked Time
Delete Time Tracked
Add a Dependency
Delete a Dependency
List All Workspaces
Get a Workspace
Invite a User to a Workspace
Make an API Call
List All Accessible Custom Fields
Note
This app uses webhooks to trigger a scenario when an event occurs instantly. All webhook modules have an instant tag next to their name.
When you create a ClickUp webhook in Make, it is attached automatically and requires no additional set up.
How To Obtain the Assignee's ID
Open the Create a Task module and establish the connection.
Select the values for Workspace > Space > Folder > List to display the assignees.
Select the assignee whose ID you want to view and click the Map toggle icon.
The selected user ID displays.
You can select multiple users. The user IDs are displayed separated by a comma in the order of their names in the Assignees field.