Router
A router allows you to branch the scenario flow into several chains of modules. Each route processes the data differently according to the condition you set. Filters help you to determine conditions via different operators such as less than, greater than, and so on.
Order routes in the sequence you want and set up a fallback route that will process data that doesn't fit other routes.
Tip
See our scenario template for the Controlled distribution of data flow.
Adding a router to a scenario
You can add a router in two different ways:
Connect a router to a module:
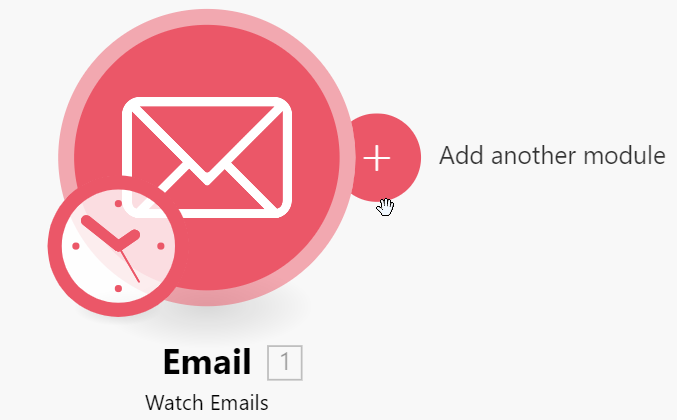
Click Add another module.
In the search box, type Flow controls and click it.
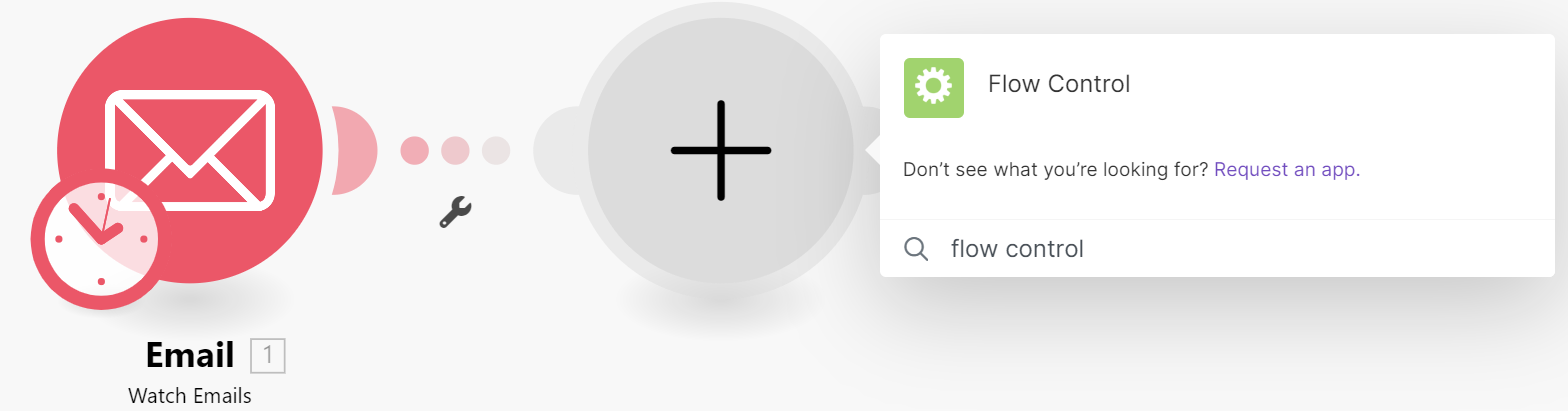
Select Router.
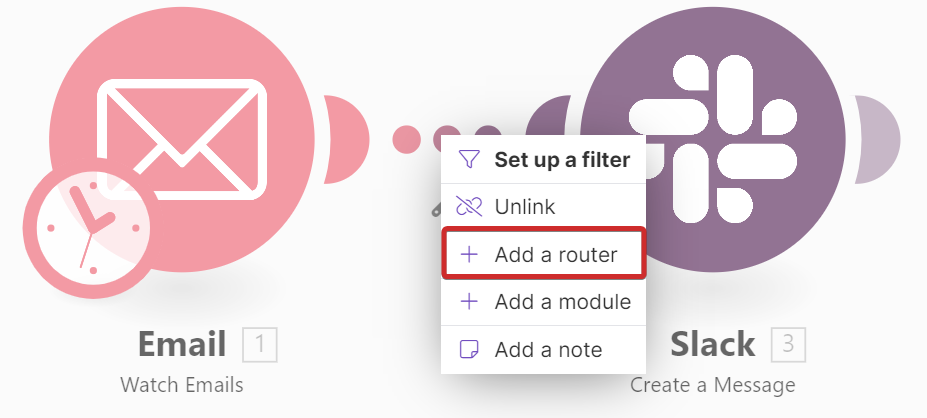
Insert a router between two modules:
Right-click the bridge between two modules, and select Add a router.
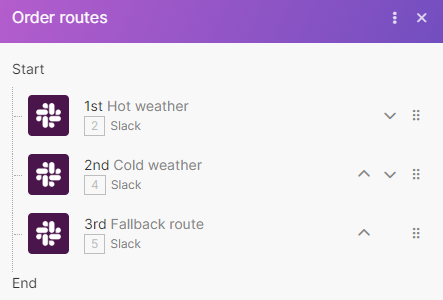
Order routes
You can set the order of routes in which Make processes them in the scenario.
This example shows the router that determines which hint to send you on Slack according to tomorrow's weather.
Click the router that contains the routes you want to order.
Right-click and select Order routes. A window appears.
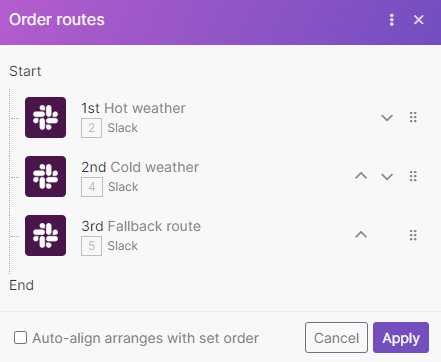
Click arrows and move routes according to your needs.
Note
The fallback route always runs last, no matter which position it takes in the Order routes window.
Optional. Select Auto-align arranges with set order to visually arrange modules on the scenario canvas according to the set order.
Click Apply.
Note
Routes are processed sequentially, not in parallel. Make won't process the second route unless it finishes processing the first one.
The fallback route
A fallback route processes data that doesn't fit the condition of all other routes. You can mark a route as a fallback if you want it to be executed last.
Note
You can set up a filter for a fallback route same as for other routes.
To set up a fallback route, follow the steps:
Click the route you want to mark as a fallback. A filter window appears.
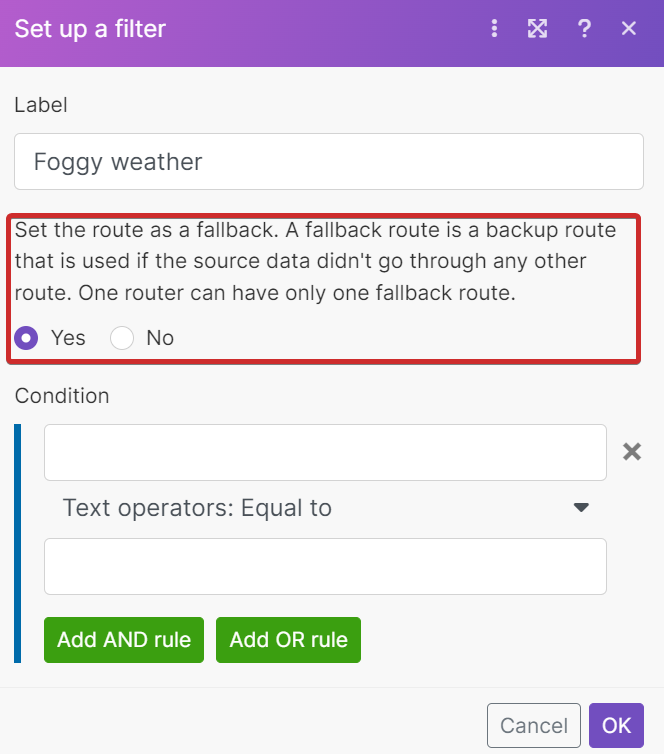
Select Yes.
Click Save.
You can recognize the fallback route by the special arrow icon on the router module:
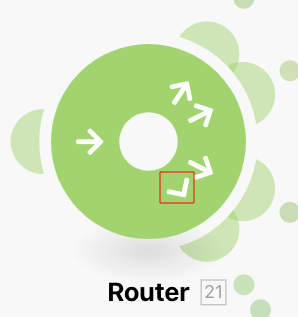 |
Select a whole branch
You can manage all modules in the branch at once.
Click the route menu, then click Select whole branch. It selects all the following modules.
 |
You can copy or delete all selected modules at once.
You need to receive a message on Slack depending on tomorrow's weather:
if the weather is hot, the message is
wear shorts.if the weather is cold, the message is
wear a jacket.if the weather is neither hot nor cold, the message is
better stay at home.
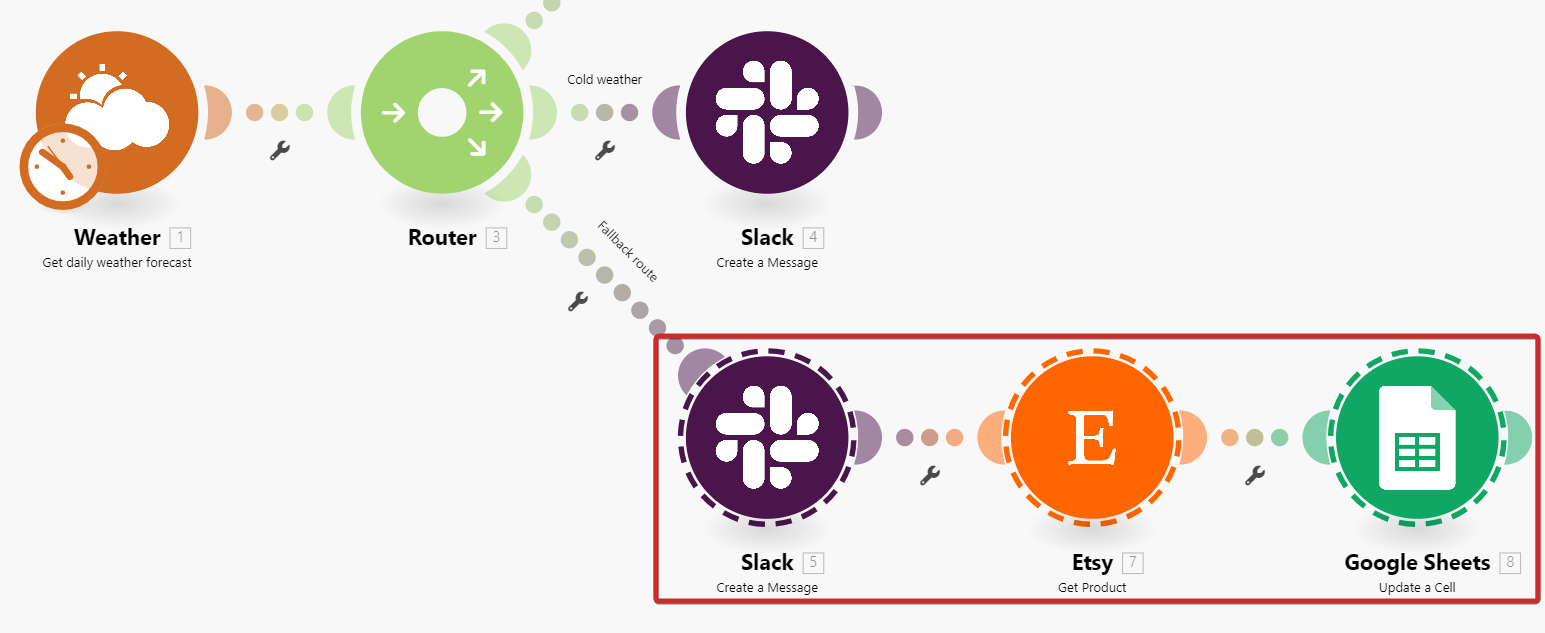
The scenario looks like that:
 |
The scenario flow is:
The Weather module gets data about tomorrow's weather.
Data goes to the router that processes routes in the determined order:
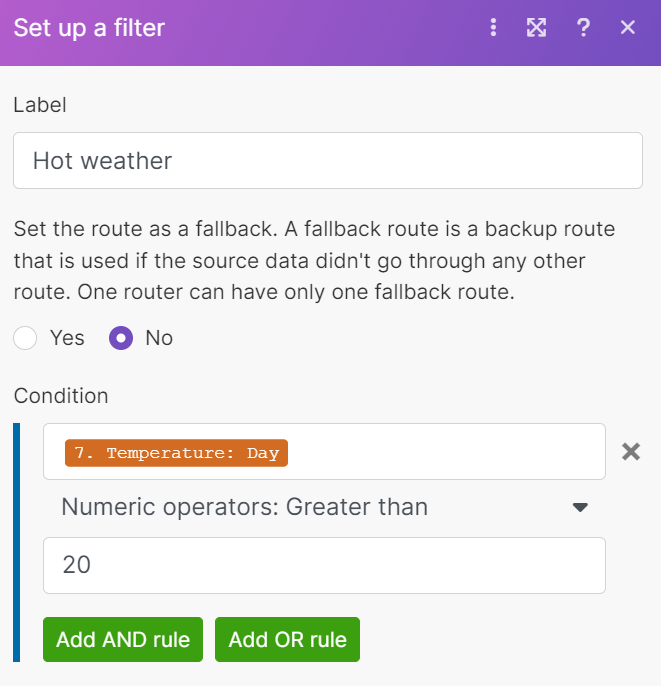
The Hot weather route sends the message to Slack, if data fits the filter condition:
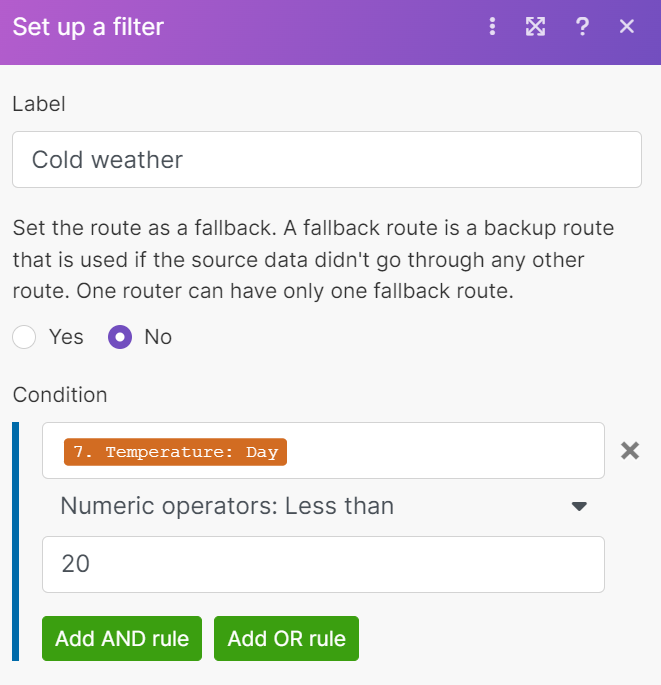
The Cold weather route sends the message to Slack, if data fist the filter condition:
The Fallback route sends the message to Slack, if data doesn't fit previous routes.
