Scenario templates
What is a template?
Templates are predefined scenarios that you can expand and customize to create new scenarios. You can then share these with friends and colleagues.
Benefits of templates
Creating your scenarios becomes much easier. Instead of starting each new scenario from scratch, you can use a template as a foundation to expand upon.
Share your templates with anyone.
Save your templates for future use.
Who can create templates?
Anyone with a Teams plan can create templates. See the available subscription plans.
Using templates
You can find the Templates tab under your Team in the left-hand menu.
 |
Search for templates using the search bar in the top-right corner.
Template types
Public templates
A collection of templates created by Make and our partners that features many common integrations. Anyone can use them to create scenarios.
See our article on creating scenarios from templates or our tutorial.
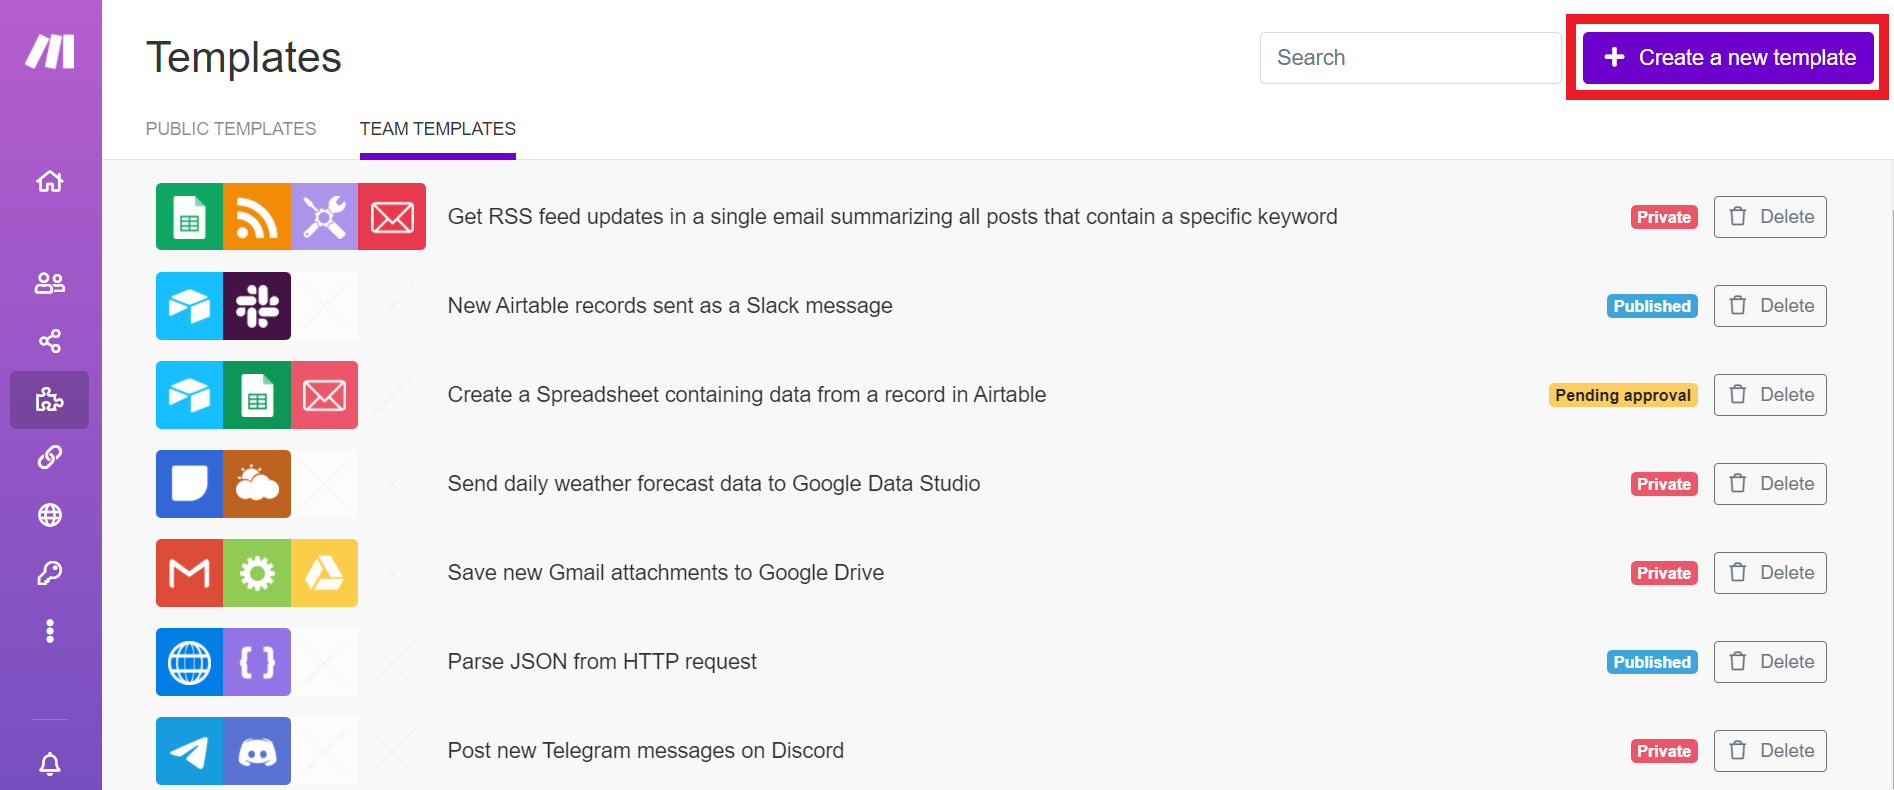
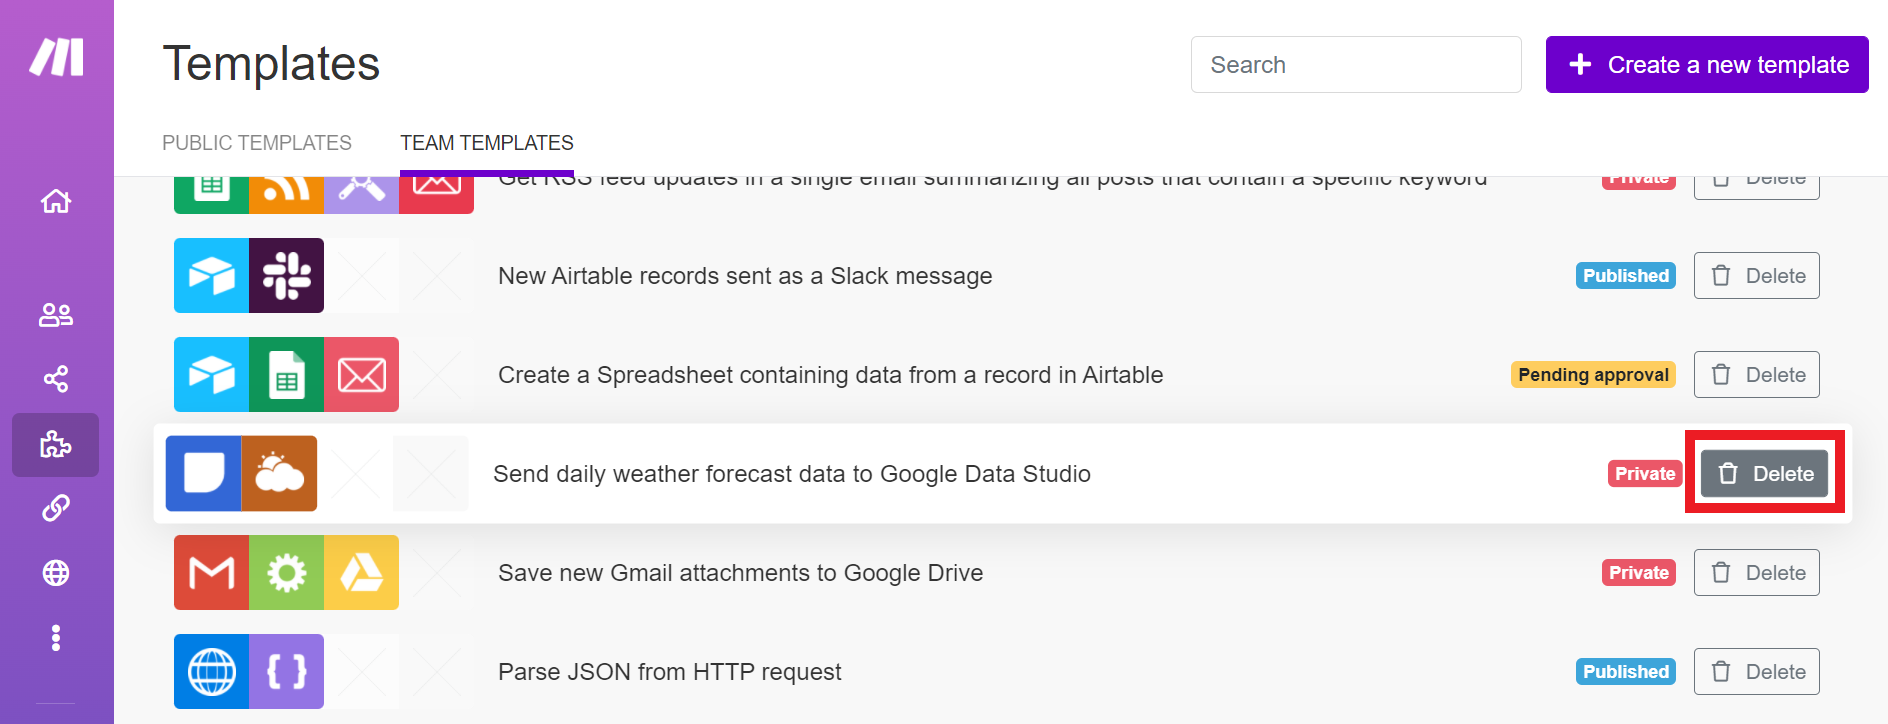
Team templates
Note
Only available for Teams and Enterprise organizations.
Team templates are those you and your team create. From the team templates screen, you can create, customize, save, and share your templates with others.
To learn more, see our article on creating and managing team templates.
Creating a scenario from a template
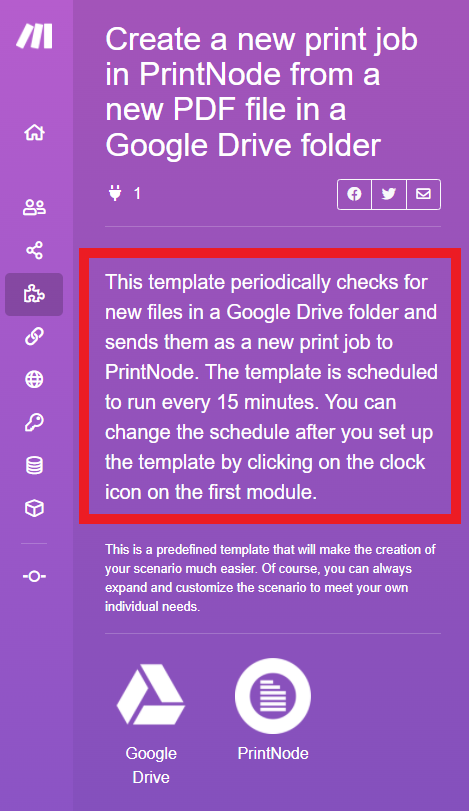
Using a public template
Make creates and maintains a library of templates. You can find it by clicking Templates on the left sidebar and looking under the Public tab.
Go to Templates > Public and click the template you want to use.
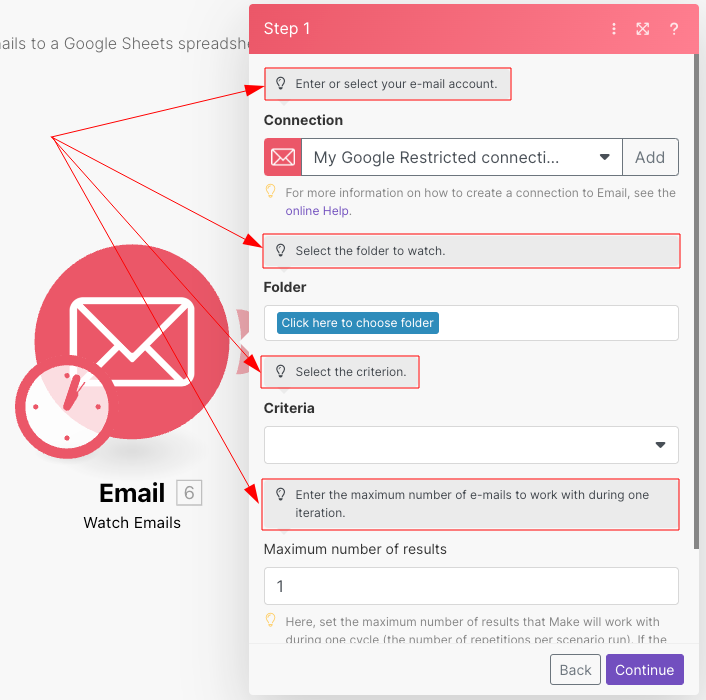
Choose whether you want a guided setup experience or simply a new scenario from the template.
Guided setup - This option includes on-screen prompts to help you configure the template for your needs.
Click Start guided setup.

Follow the on-screen prompts to configure your scenario.
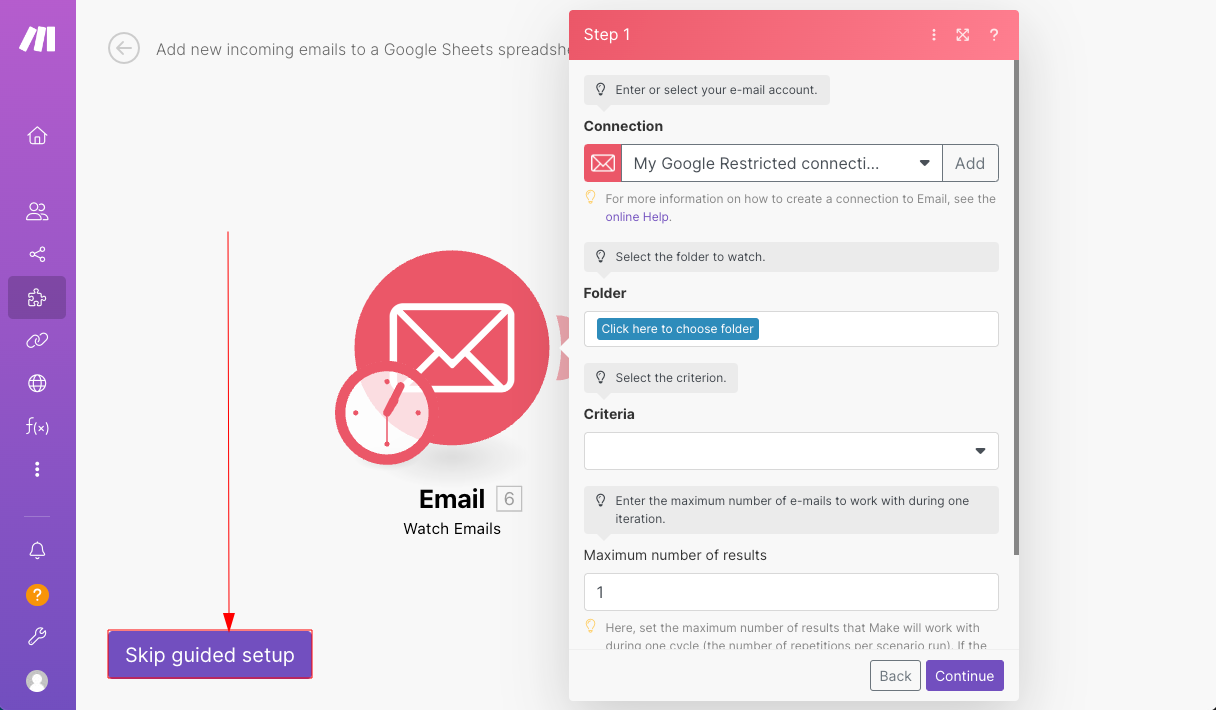
Optional Click Skip guided setup at any time to end the guided setup. You still need to configure all modules but on-screen prompts no longer appear.
New scenario - This option instantly creates a new scenario in your organization from the template. You need to manually configure module settings, such as Connections.
Click Create a new scenario from template.
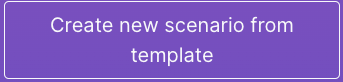
Name and save your scenario.
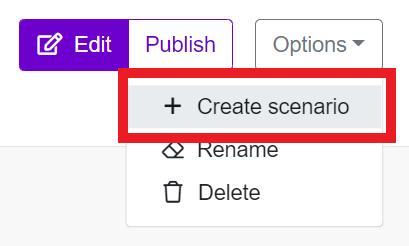
Using a team template
Go
Select the template you want to use.
Click Options.
Click Create scenario.
Choose which organization you want to create your scenario for.
Click Save.
You are now ready to edit your scenario.
Creating templates
Click Templates in the left-hand menu.
Click Create a new template.
The scenario editor appears. Use the editor to create templates the same way you create regular scenarios. See our guide on editing a scenario to learn more.
Notice
You can only edit your private templates.
You cannot edit any published templates.
Templates cannot start with a webhook.
Renaming templates
When you create a new template, Make names it “New Template” by default.
Edit the name by clicking the title displayed at the top of the page, or follow the steps below:
Click Options in the top-right corner.
Click Rename.
Note
You can only rename private templates.
Adding a description
You can include a description of your template to inform others of its functionality.
Click the gear icon in the Controls panel below your template.
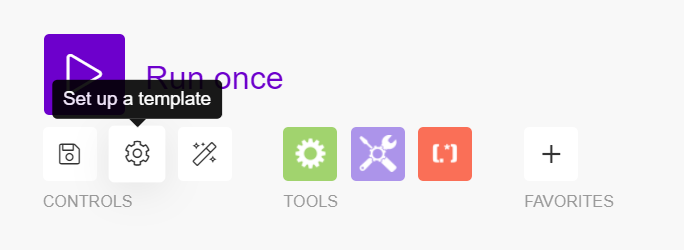
Add your description in the box provided (Max. 240 characters).
Click Save.
Your description appears in the template information panel.
 |
Editing templates
Editing a template is similar to editing a scenario with extra options for each field:
Use in Wizard - checking this box includes the field in the guided setup. Select it for fields that users need to personalize or edit.
Use as a default value - checking this box makes the value you defined the default value for that field. Select it to include a recommended value that users can edit.
Caution
Known issues:
When adding a module with dynamic, customizable fields, such as Set multiple variables, you need to check both:
Use in Wizard
Use as a default value
Selecting both check boxes ensure that users can see the field when they create a scenario from your template.
If the Use in Wizard and Use as a default value checkboxes do not appear:
In the Module settings window, click OK to save your changes and close the window.
Right click the module and select Settings.
The Use in Wizard and Use as a default value checkboxes now appear.
Deleting templates
You can delete any of your private or published templates.
From your template list, click Delete to the right of any template.
From a template, click Options in the top-right corner, then click Delete.
Publishing templates
Publishing
To share your template with others, you must first publish it.
To publish a template:
Choose which private template you want to share.
Click Publish in the top right corner.
Caution
You cannot edit a published template. You need to first unpublish your template. Then you can edit and republish.
Requesting approval
You can send your published templates for approval to make them available in the public templates library.
Click Request approval in the top-right corner.
The button will now read “Approval pending”.
A Make administrator reviews your template for public use. After approval, Make adds your template to the public templates library.
Note
If your template contains a custom app, we can't add the template to the public library. You can still share the template using the public link.