Jun 16, 2020 | 5 minutes
Shopify Email Automation: Gain a Competitive Edge with Simple Automated Scenarios
Can you send an automated "thank you" email from Shopify? Of course you can. Learn how to, and let Integromat do the heavy lifting for you.

So, you finally made the leap and got yourself a Shopify store. Orders are coming in and products are getting shipped, but you find yourself spending an increasing amount of time at...emails. How come?
For shop owners, email is a central aspect of the Shopify experience. It is useful to fulfill a number of different tasks, such as:
Thanking the customer for registering
Sharing order information with the customer
Sending QR codes for completing bank transactions
Promoting products, offering discounts
At the same time, email is regularly used by customers and prospects to communicate with shops, ask questions, and solve issues they may encounter.
In other words, email is a fundamental tool and channel to establish meaningful relationships with customers and nurture your business.
Then again, there is the problem of time. Email marketing and communications take up a lot of time when done manually. So much indeed that they can become a serious problem for anyone trying to grow a Shopify operation in a sustainable way.
The answer to this problem is simple: Shopify email automation, with the help of Make. Now, let's learn how to do it.
Politeness costs nothing and gains everything
Developing meaningful relationships with customers (or soon-to-be customers) can start with something as simple as a “thank you” email.
It doesn’t take to own a Shopify store to learn this: if you buy stuff online, you know what I’m talking about. Since “thank you” emails are a great starting point for excellent customer relationships, it is also what we will try to automate first.
Before we begin, let’s make sure you have what’s needed:
A Shopify store
An email account
An Make account (yes, you can sign up for a free account to work on this)
Ready? Then let’s start automating!
Setting up automated “thank you” emails for your Shopify store
Now that we are all set, we will start by going into our Make dashboard, and clicking the “Create new scenario” button on the top right corner.
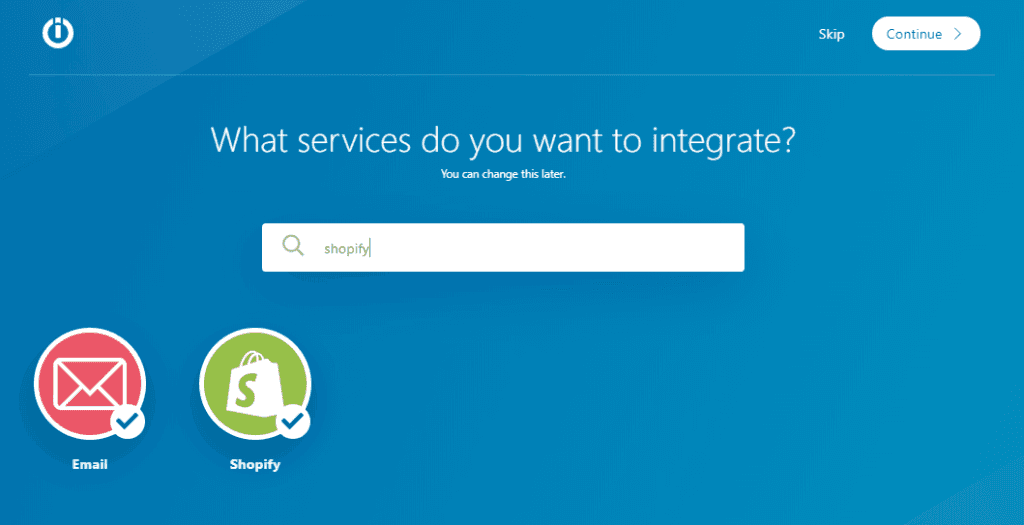
Now it’s time to search and select the apps we need to automate our “thank you” emails”:
Shopify
Email
Once you select these apps, you will need to click the “Continue” button on the top right of your screen. This will lead you to the visual canvas, where we will create and test the automated workflow.
1. Configuring the Shopify module
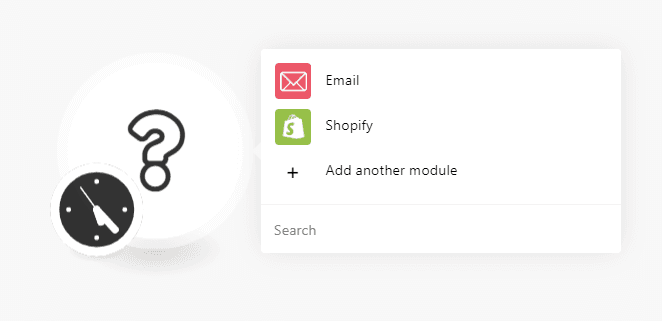
Alright! Now you are ready to automate. In the visual canvas, you will click on the blank module that lies at the center of your screen. Once you do this, please select the first app we will be using: Shopify.
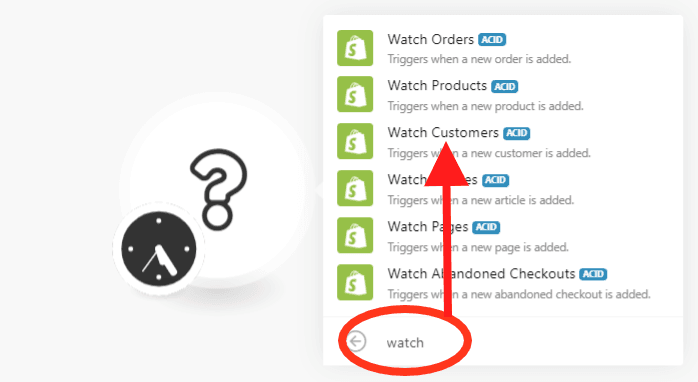
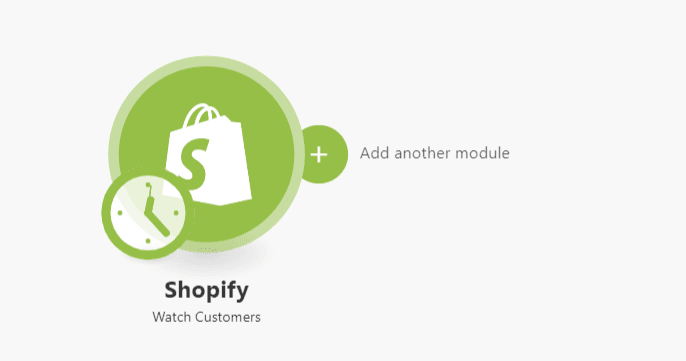
A list of modules will be made available to you. Here, we will choose the “watch new customers” module. To do this, you can type the word “watch”, or search for it in the list of options, and then click on the module.
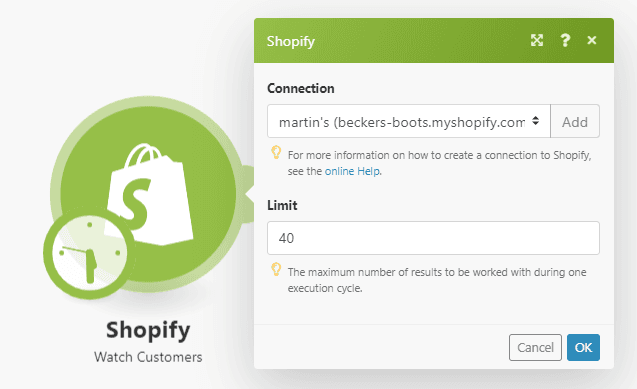
Now it’s time to connect your Shopify account to Make. Don’t worry, all you need to do is click the Shopify module, click the “add” button, and authorize Make to establish the connection.
Once your connection is up and running, you will have to set up the number of results to be worked during each cycle. This will specify how many results you will get each time the automation runs, and it is directly related to the number of registrations you expect to happen between cycles.
For example, let’s suppose that you will set this scenario to run one time every 60 minutes. If your shop receives an average of 20 registrations per hour, you should set this number to 30 (or more).
This way, you will give your workflow some extra room in case you get more than 20 registrations on any given hour of the day, allowing it to send the “thank you” emails to every newly registered user.
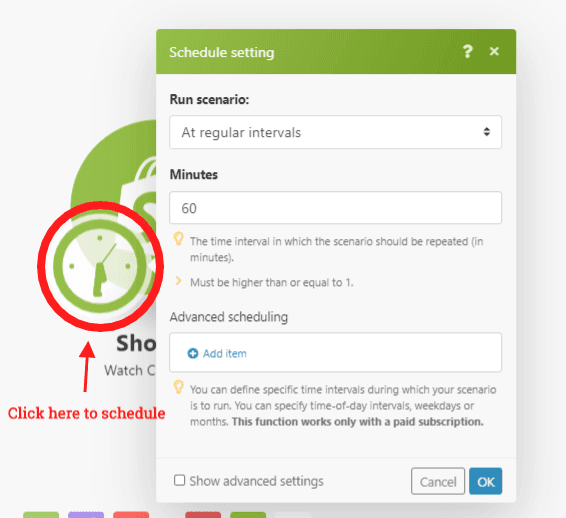
After this is done, you will be able to schedule the module to run at a time interval of your choice. Free-tier plans allow you to run a scenario every 15 minutes, but with a paid plan you can run it up to a 1-minute frequency.
2. Configuring the email module
Now that the Shopify module is all set up, it is time to configure the email module. First, you will click on the right side of the Shopify module to add a new app, and then select the “Email” app from the options.
First of all, you will have to connect your email account to Make. As with the Shopify module, you only need to authorize the connection, which demands just a couple of clicks.
After the connection is established, it’s time to configure the “thank you” email that this automated scenario will send to those who register to your Shopify store. It’s pretty easy, although we won’t be able to help you with copywriting tasks.
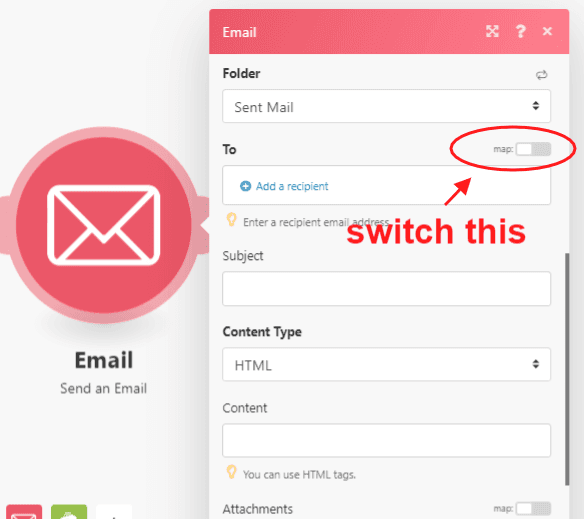
Since we can’t possibly know who will be registering for your shop in the future, we will tell the scenario to send an email to every newly registered user.
To do this, we need to switch the “map” function on. See screenshot below:
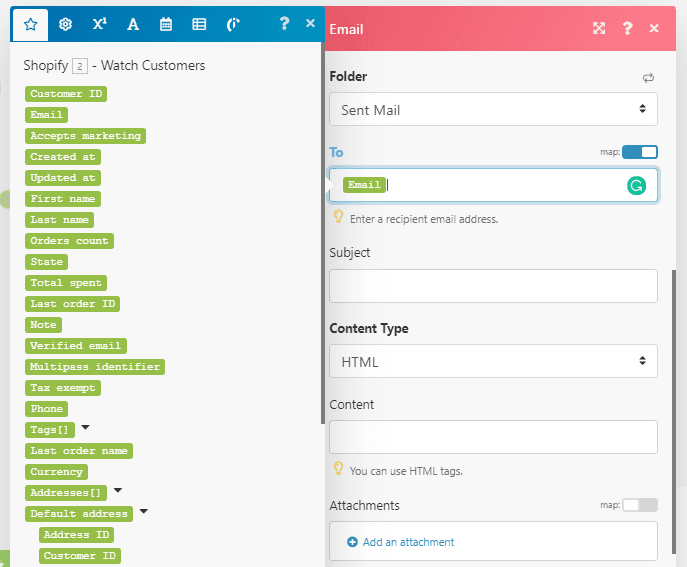
You will be presented with a menu of items. Here, you will select the “email” item, just like this:
Once this is done, you will have to switch the content type to “plaintext”, and complete the following fields:
Subject (the email subject line)
Content (the message that you wish to send to new registrants)
You can customize both the subject line and content with mappable items. In my case, I customized the content of the email to address the receiver by its first name.
Now you can test your scenario by pressing the “Run once” button on the bottom left corner of your screen.
Assuming that it works fine, all you need to do now is save the scenario, and turn it on (buttons for doing this are also on the bottom left corner of the visual editor).
And that’s it! Automatic “thank you” emails for your new Shopify customers are now a reality, my friend.
Conclusion: Thinking big with Make
Shopify is excellent at helping people set up online shops fast, but when it comes to certain business-related aspects, store owners must fend for themselves.
To improve their businesses, they need solutions that are both flexible and powerful, and this is what makes Make stand out above the rest.
Bear in mind, setting up automatic emails in Shopify is just one of the things you can do with Make. Shopify users have a full array of readily-available templates to automate tasks, such as:
And above these are all the automated scenarios they can create for themselves -- not just with Shopify, but with any of the 300+ apps featured by Make. In the end, this represents one of the biggest perks of Make.
You can start small, with “thank you” emails, and then move on to create other scenarios to automate tasks like:
Order confirmation emails
“Thank you for your purchase” messages
Sending coupons automatically
The sky is the limit, but learning to fly comes first.
Happy automating!
Image credit: Iconscout


