Dec 17, 2025 | 5 minutes
Client portal: How no-code tools can help you build one
Build a client portal that connects data, automations, and clients in a collaborative space that enhances transparency.
Imagine a client who never has to chase updates by email, search through message threads for attachments, or wait for someone to send a form. These are the small details that separate a standard service from a remarkable customer experience. A client portal bridges that gap by combining accessibility, automation, and personalization through no-code tools.
If your goal is to strengthen client relationships, we’ll walk you through structuring live data, automating repetitive workflows, and designing an access experience that aligns with your brand and internal processes.
The result: fewer manual steps, less confusion, and greater autonomy for both clients and teams. By the end of this article, you’ll have a practical framework to launch a portal that genuinely supports your operations day to day using Make and AnyDB.
What Is a Client Portal?
A client portal is a secure digital environment where companies and clients share data, files, and updates in one central place. At first glance, it might look similar to a shared folder or CRM, but its purpose goes beyond storage or record-keeping.
A well-built portal functions as a collaborative hub that mirrors your real business operations. It allows clients to access projects, documents, forms, invoices, and deliverables dynamically, all in one integrated interface.
Think of a project management system or a financial dashboard as examples: instead of spreading information across multiple tools, the portal consolidates everything into a single, transparent view.
Why does it matter?
More than 70% of today’s consumers expect personalized experiences, and 76% feel disappointed when they don’t have one. A client portal demonstrates your company’s commitment to visibility, trust, and accountability. In other words: values that drive long-term relationships. Here’s what that looks like:
Modern portals replace static dashboards with collaborative environments.
Clients can comment, edit, and upload documents directly, rather than relying on back-and-forth emails.
Every interaction updates in real time, feeding into the same data source.
Information lives within a single, unified, scalable, and secure interface.
Core Components of a Great Client Portal
What separates a superficial client portal from a truly operational one is its depth of connection to the core business. Below are the key components that bring real value to client collaboration:
Component | Description |
Relational context | Clients are linked to projects, purchase orders, and deliverables. Most tools keep these relationships scattered |
Granular permissions | Too much visibility compromises security; too little limits collaboration |
Native file integration | Many platforms rely on external storage for files, fragmenting the workflow |
Connected forms | Typical portals require third-party form apps, which leads to data copying between spreadsheets and CRMs |
Guest management | Ensure your portal supports unlimited guest access so clients, partners, and external reviewers can collaborate without increasing your licensing costs |
White-labeled access | Generic portals weaken brand perception and client confidence |
There are many tools for building client portals, but not all offer the flexibility and scalability modern teams need. Combining no-code tools for back-end (as a database) with another for front-end (as the visual layer) is quite common, but it comes with limitations
Step-by-Step: How to Build a Client Portal From Scratch
The key to building a great client portal is starting small but on a strong foundation. The real magic lies in connecting your data, defining clear workflows, and turning complex operations into a seamless digital experience.
No-code tools like Make, and Unified Data Platforms like AnyDB make it possible to assemble a fully functional portal in just a few steps with no coding and no IT overhead.
The process is simple but strategic: map your data, connect your tools, automate your interactions, and design an experience that feels natural for your clients.
Here’s how to do it step by step.
Step 1: Map your client data and workflows
Start by identifying what information your clients actually need and how that data connects to your internal operations. List the main entities you’ll manage:
Clients;
Projects;
Purchase Orders;
Deliverables;
Invoices;
Documents.
Next, map out how these pieces relate to each other. For instance, a client may be linked to a project, which generates tasks and files. This relational structure forms the backbone of your portal.
Step 2: Choose your tech stack
Make acts as your automation engine, while AnyDB serves as your central data layer. Together, they create a dynamic system without code.
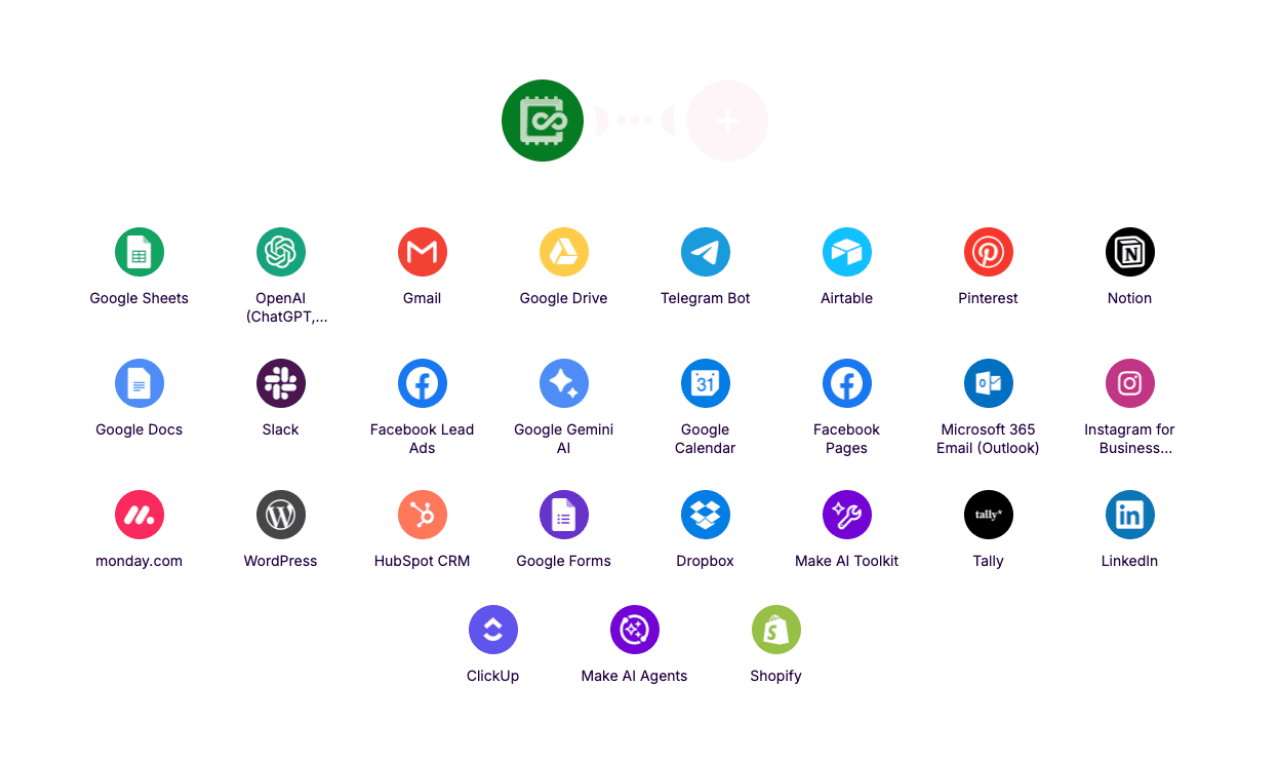
For that, Make connects the tools you already use, like Slack, Gmail, and over 3,000 apps, and keeps everything in sync.
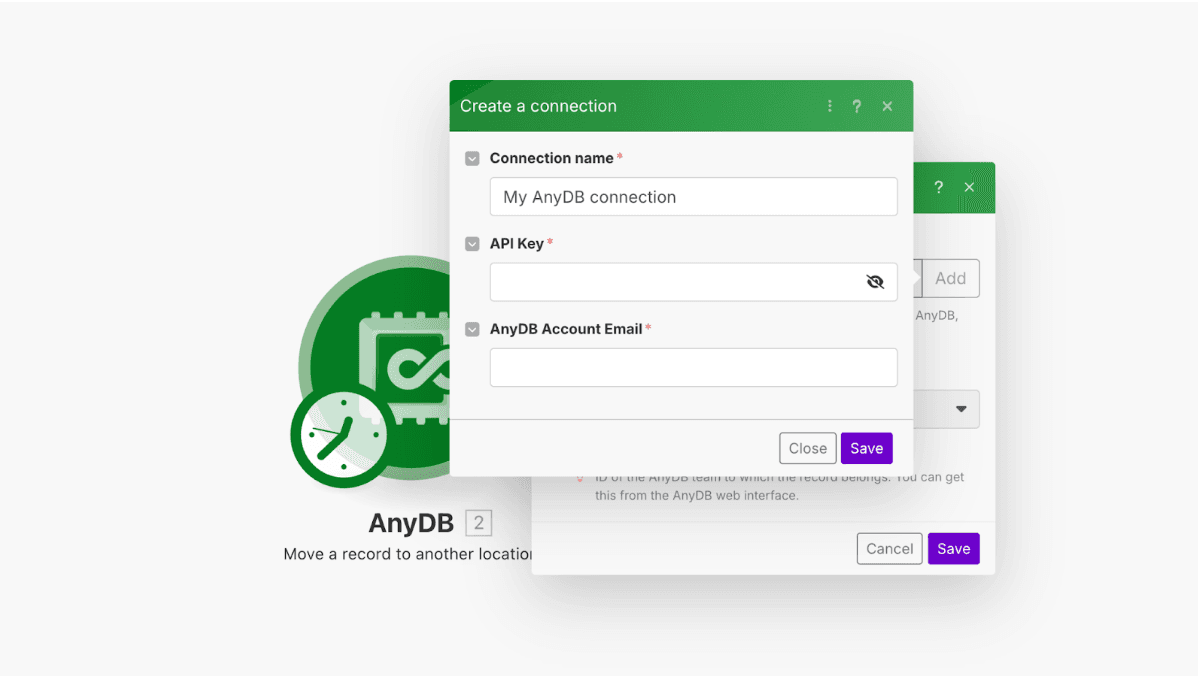
Step 3: Set up your API
Next, to enable communication between Make and AnyDB, you’ll need to generate your API key.
You can access it directly from your user profile: navigate to the bottom-left corner of the interface, click your name, then open Profile → Integrations → Show Key. Copy the key and paste it into your Make connection to authenticate and enable communication between the two platforms.
API-powered automations are truly reliable: when information changes in Make, the connected portal reflects it immediately, maintaining security, accuracy, and a consistent user experience.
Step 4: Configure the application
To use AnyDB inside a Make scenario, the module setup typically requires three core pieces of information: Team, Database, and Record ID.
AnyDB Team and AnyDB Database: These are usually populated automatically once the connection is established. Your Make connection uses your AnyDB credentials to identify the correct team and database.
AnyDB Record ID: The Record ID corresponds to a specific item inside your AnyDB database. You can find it directly in AnyDB by opening the item you want to reference, and checking the right-side properties panel, where the Record ID is displayed.
Once these fields are provided, Make can interact with the exact item, retrieving data, updating fields, or triggering automations based on changes within your AnyDB workspace.
Step 5: Create automations for forms, notifications, and updates
This is where your portal comes to life. In AnyDB, you can create forms directly tied to your internal databases, allowing clients to submit requests, invoices, or documents.
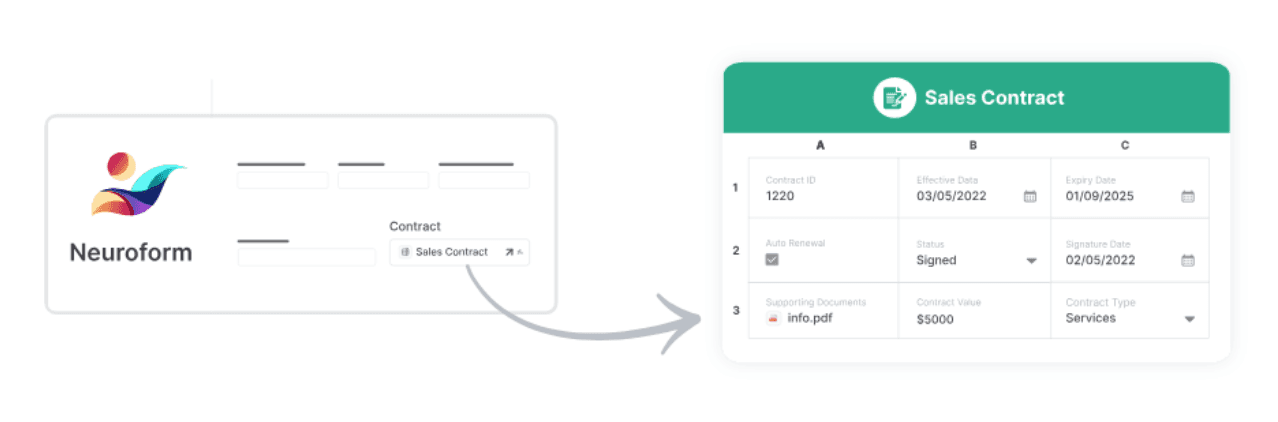
Every submission is automatically linked to the correct record, keeping your system organized and up to date.
Through Make, you can take this even further by setting up automations such as:
Notifying your team the moment a client submits a form;
Sending reminders when contracts are due for renewal or when compliance actions are required;
Updating project statuses automatically;
Creating a page type record with a supplied title and content;
Creating a record with the cell data provided;
Make an API call;
Move records;
Upload files to a parent record (such as a folder);
Sending alerts to clients when something changes, like an approved invoice or a new file upload.
Step 6: Personalize the experience
Once your data and workflows are in place, it’s time to make the portal truly yours. Add your company’s domain, logo, and color palette to create a branded environment that reflects your identity.
AnyDB’s white-label setup ensures clients feel like they’re interacting directly with your business, not a third-party app.

Then, configure permissions carefully. Decide who can view, edit, or upload information. Granular access control lets you share only what’s needed, whether it’s a single record or a filtered view.
Finally, build personalized dashboards with KPIs, project updates, and shortcuts that make navigation intuitive for each client.
Step 7: Test access, permissions, and synchronization
Before you go live, test everything as if you were the client. Check that forms work correctly, notifications trigger on time, and access levels are properly enforced. Every user should see exactly what’s intended. Nothing more, nothing less.
Automating Your Client Portal With Make
The integration between Make and AnyDB turns a static portal into a living ecosystem, where information updates automatically, forms trigger actions, and clients receive real-time updates.
Make acts as the connector between your internal workflows and the client-facing experience. Through automated scenarios, it monitors events in AnyDB (such as a submitted form or a project status change) and instantly performs actions across your other systems. Here are a few examples:
Automatic invoice updates: when an invoice is marked as “paid” in AnyDB, Make can notify the client, update the financial record in your accounting system, and automatically store the receipt in a shared folder.
Client onboarding: once a client completes the onboarding form, Make can trigger an entire sequence that adds the client to your CRM, creates a new project in AnyDB, and sends a welcome email with portal access.
Real-time project status notifications: when a delivery or task status changes, Make can send automatic updates via Slack, WhatsApp, or email to the client. This keeps everyone aligned without requiring your team to manually monitor every update.
Ready to make the automation revolution happen?