Facebook Conversions API
The Facebook Conversions API module enables you to send web events from your online source directly to Facebook.
Getting Started With Facebook Conversions API
Prerequisites
A Facebook Business Manager account
A Facebook Pixel ID
A Facebook account
In order to use Facebook Conversions API with Make, it is necessary to have a Facebook account and a Facebook Business Manager account.
Connecting Facebook to Make
Log in to your Make account, add a Facebook Conversions API module scenario, and click the Add button next to the Connection field.
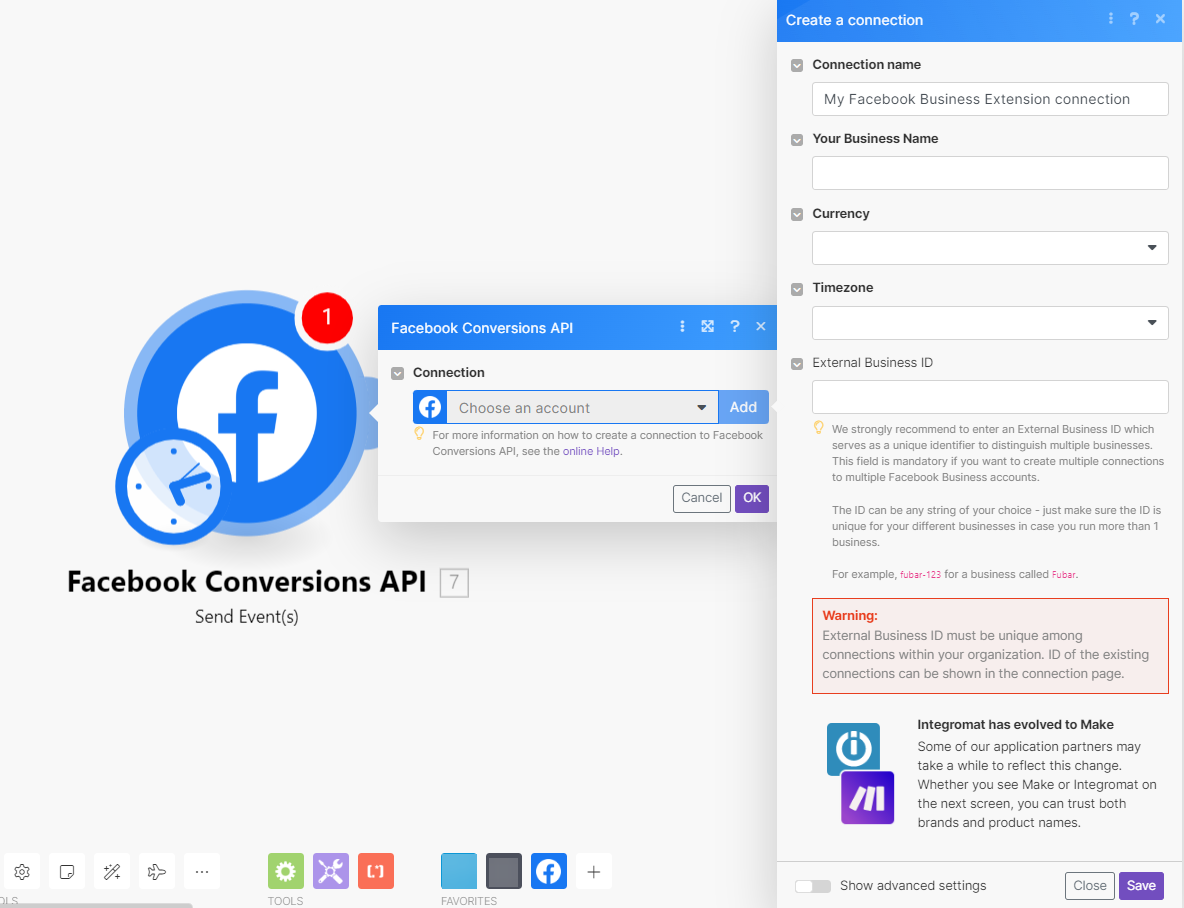
In the Connection name field, enter a name for the connection.
In Your Business Name field, enter your business name.
In the Currency field, select the applicable currency for your business.
In the Timezone field, select the applicable timezone.
Optional: In the External Business ID field, enter your Business ID details.
For example,
fubar-123is for a business called Fubar.Note
Make strongly recommends entering the External Business ID, which serves as a unique identifier to distinguish multiple businesses. This field is mandatory if you want to create multiple connections to multiple Facebook Business accounts. The ID can be any string of your choice but ensure the ID is unique for your different businesses in case you run more than one business.
Click Save.
Note
The connection setup could take up to 3-5 minutes.
You have successfully established the connection.
Actions
Sends events to your Facebook ad account's Facebook Pixel.
For better ad-targeting efficiency, please send the data as soon as you retrieve them (using webhooks or frequent scenario run scheduling). It may take up to 20 minutes for your data to be processed by Facebook.
Connection | |||||||||||||||||
Pixel ID | Enter your Facebook Pixel ID. | ||||||||||||||||
Data | (Reference: Facebook for Developers)
| ||||||||||||||||
Pixel ID | Enter your Facebook Pixel ID. Leave this empty for the pixel ID you picked when creating or reauthorizing the connection. If you want a pixel under a different Facebook Business Manager account, create a new connection instead. | ||||||||||||||||
Test Event Code | Enter the test event code to send the test data set to Facebook. The test event code can be retrieved in Facebook Business Manager > Events Manager > Data Sources > Your Pixel > Test Events > Server.  | ||||||||||||||||
Enable Limited Data Use | Select the Yes option to limit businesses' use of California personal information for a given event. (In accordance with the California Consumer Privacy Act - CCPA). |