Tripletex
With the Tripletex modules in Make, you can retrieve, create, update, search and/or delete aspects of timesheets, ledgers, projects, invoices, orders, customers, products, logistics settings, timesheet settings, and historical vouchers and make API calls.
Tripletex provides two types of environments that you can connect to in Make: Production and Sandbox.
Note
Refer to the Tripletex API documentation for the list of available endpoints.
Production Environment
To use the Tripletex Production environment, you must have an account at tripletex.no. To set up integrations in the Production environment, your account must have the Smart package subscription or higher.
Sandbox Environment
To use the Tripletex Staging environment and test the API, you can create an account at tripletex.io. After submitting the form, Tripletex generates Sandbox credentials that you will use to connect to Make.
When you are ready to switch from the Sandbox environment to the Production environment, apply for access to the API in Production by filling out this Tripletex form. Please note that Tripletex's process may take up to 2-3 weeks and you will receive a new set of Production credentials. Refer to the Tripletex Getting Started guide for more information.
Connect Tripletex to Make
To connect to the Production environment, you must have an employee token. Only Tripletex accounts with administrator rights can create employee tokens.
To connect to the Sandbox environment, you must have the employee and consumer tokens that were provided when you registered at Tripletex. These credentials can only be used in the Sandbox environment.
To connect to the Tripletex app:
Log in to your Make account, add a Tripletex module to your scenario, and click Create a connection.
Optional: In the Connection name field, enter a name for the connection.
In the Employee Token field, enter your employee token.
Production Environment: This token is created by an
administratoraccount in Tripletex. For instructions on how to create this token, refer to the Create an Employee Token in Tripletex section below.Sandbox Environment: This token is generated when you register for access to the Sandbox environment.
Select Yes or No in the Sandbox field to choose the environment to connect to.
Sandbox Environment: Enter the Consumer Token generated when you registered for access to Sandbox environment.
Click Save.
You have successfully established the connection. You can now edit your scenario and add more Tripletex modules. If your connection needs reauthorization, follow the connection renewal steps here.
Create an Employee Token in Tripletex
Note
You must have administrator rights in Tripletex to create an employee token.
To create an employee token:
Log in to your Tripletex account.
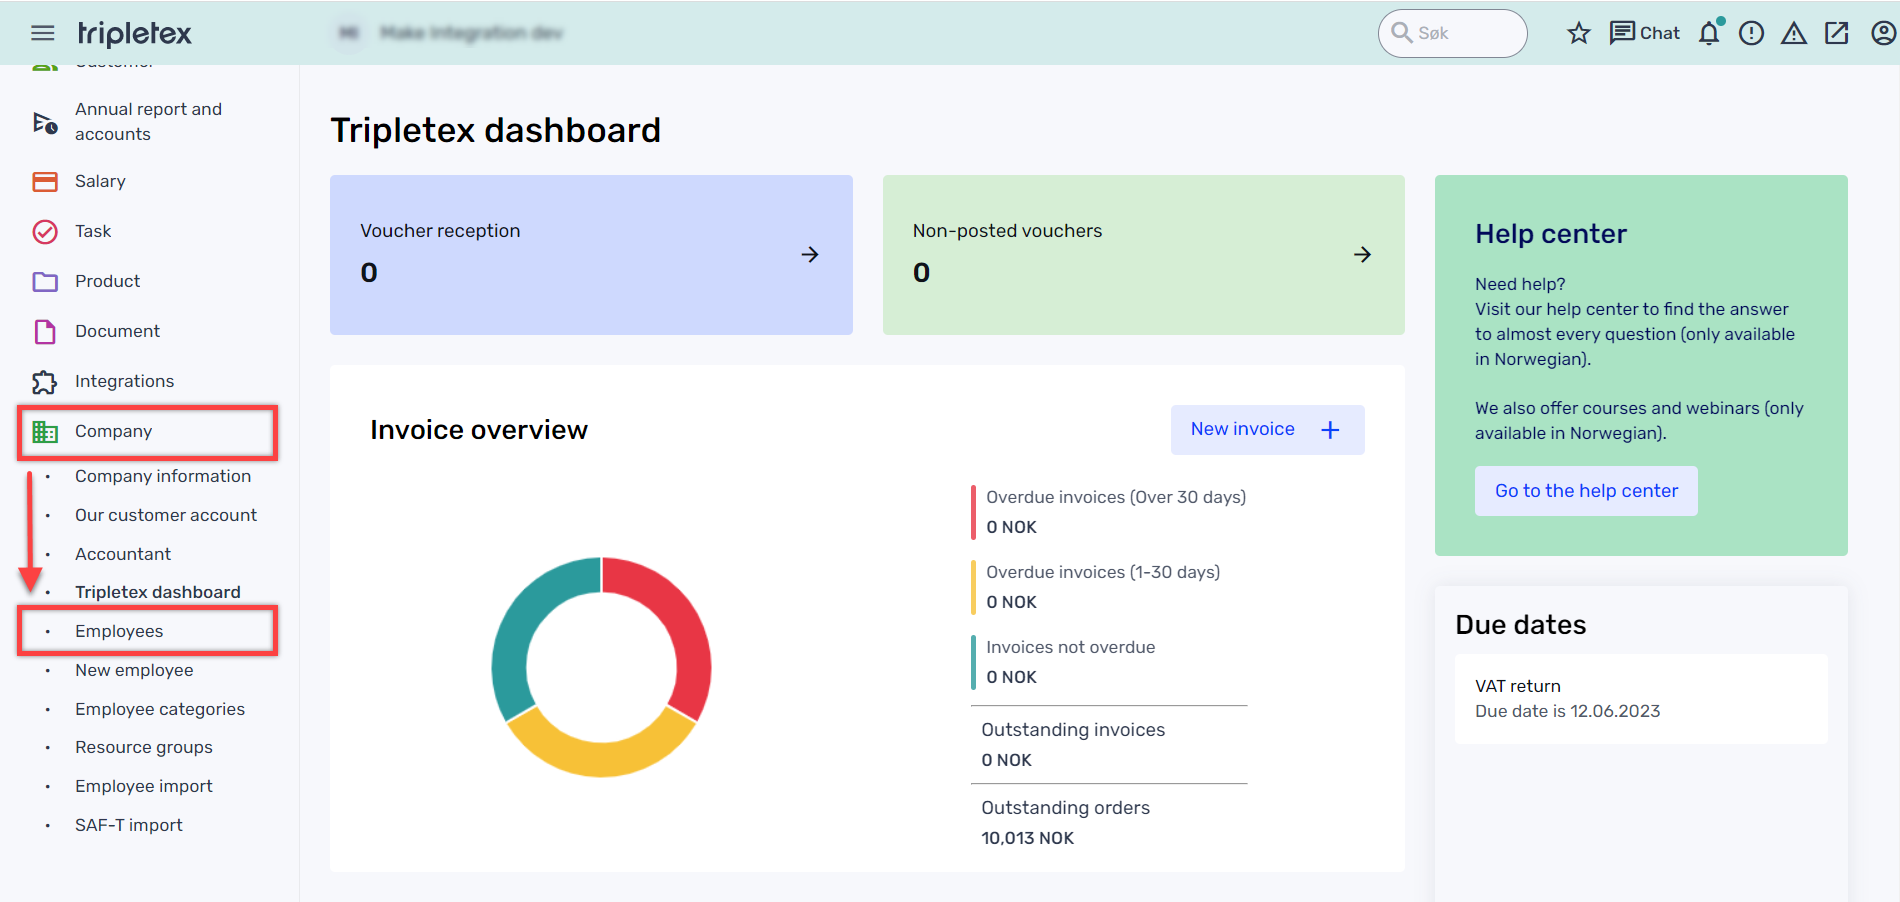
Click Company > Employees on the left sidebar.
Click on the employee you are generating the token for.
Click on the API access tab > New token.
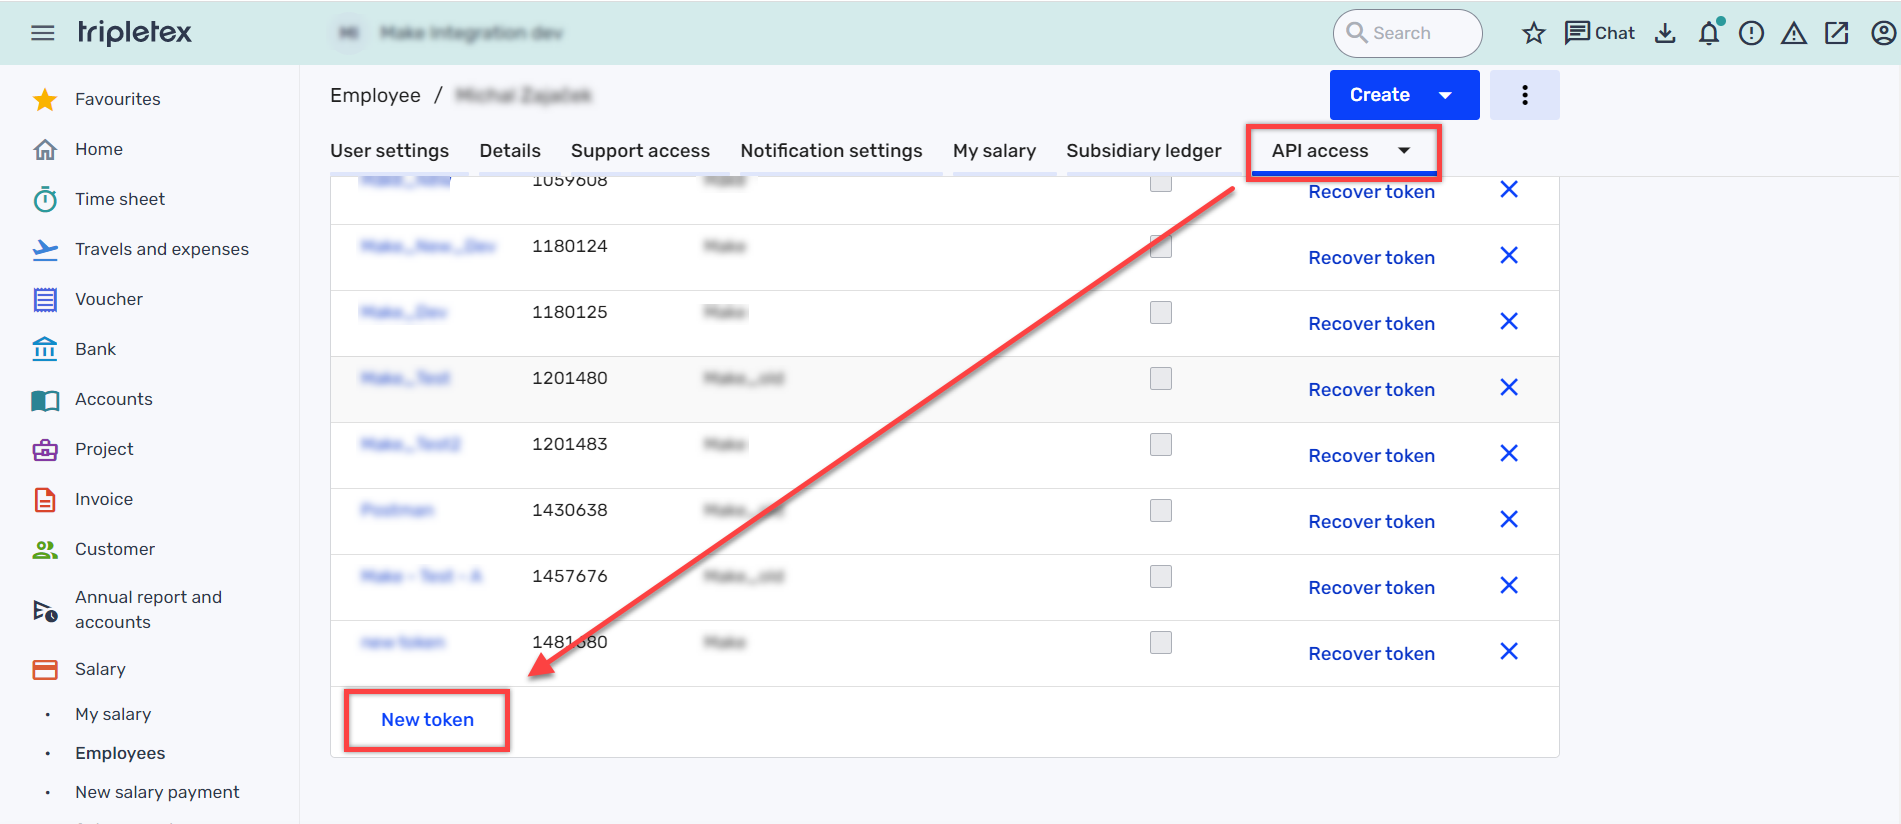
Select Make in the Application field, enter a name for the token, and click Create token.
Copy the API token that appears, store it in a safe place as you cannot view the token again, and click OK.
Click on the name of the token you just created in the API employee tokens list.
Select the desired access types for the token.
Click Save.
You have successfully created the employee token to establish the connection in Scenario. Return to the Connect Tripletex to Make section to continue establishing the connection.
Build Tripletex Scenarios
After connecting the app, you can perform the following actions:
Get Timesheet Settings
Create a Timesheet Entry
Update a Timesheet Entry
Get a Timesheet Entry
Search Timesheet Entries
Delete a Timesheet Entry
Update a Timesheet Time Clock
Get a Timesheet Time Clock
Search Timesheet Time Clocks
Update a Monthly Timesheet
Get a Monthly Timesheet
Update a Weekly Timesheet
Get a Weekly Timesheet
Create a Timesheet Company Holiday
Update a Timesheet Company Holiday
Get a Timesheet Company Holiday
Search Timesheet Company Holidays
Delete a Timesheet Company Holiday
Create a Timesheet Salary Type Specification
Update a Timesheet Salary Type Specification
Get a Timesheet Salary Type Specification
Search Timesheet Salary Type Specifications
Delete a Timesheet Salary Type Specification
Search Ledgers
Create a Ledger Account
Update a Ledger Account
Get a Ledger Account
Search Ledger Account
Delete a Ledger Account
Get a Ledger Accounting Period
Search Ledger Accounting Periods
Get a Ledger Annual Account
Search Ledger Annual Accounts
Get a Ledger Close Group
Search Ledger Close Groups
Get a Ledger Posting
Search Ledger Postings
Create a Relative VAT Type
Get a Ledger VAT Type
Search Ledger VAT Types
Create a Ledger Voucher
Update a Ledger Voucher
Get a Ledger Voucher
Search Ledger Vouchers
Delete a Ledger Voucher
Get a Ledger Voucher Type
Search Ledger Voucher Types
Create a Ledger Payment Type Out
Update a Ledger Payment Type Out
Get a Ledger Payment Type Out
Search Ledger Payment Types Out
Delete a Ledger Payment Type Out
Create a Project
Update a Project
Get a Project
Search Projects
Delete a Project
Get an Invoice Details
Search Invoice Details
Get an Invoice Payment Type
Search Invoice Payment Types
Create an Order
Update an Order
Get an Order
Search Orders
Create an Order Group
Update an Order Group
Get an Order Group
Search Order Groups
Delete an Order Group
Create an Order Line
Update an Order Line
Get an Order Line
Delete an Order Line
Create a Customer
Update a Customer
Get a Customer
Search Customers
Delete a Customer
Create a Customer Category
Update a Customer Category
Get a Customer Category
Search Customer Categories
Create a Product
Update a Product
Get a Product
Search Products
Delete a Product
Search Product Prices
Create a Product Group
Update a Product Group
Get a Product Group
Search Product Groups
Delete a Product Group
Create a Product Group Relation
Get a Product Group Relation
Search Product Group Relations
Delete a Product Group Relation
Create a Product Unit
Update a Product Unit
Get a Product Unit
Search Product Units
Delete a Product Unit
Get a Product Unit Master
Search Product Unit Masters
Get an External Product
Search External Products
Create a Supplier Product
Update a Supplier Product
Get a Supplier Product
Search Supplier Products
Delete a Supplier Product
Create a Product Inventory Location
Update a Product Inventory Location
Get a Product Inventory Location
Search Product Inventory Locations
Delete a Product Inventory Location
Update a Logistic Setting
Get Logistics Settings
Upload a Historical Voucher
Make an API Call