Facebook Custom Audiences
The Facebook Custom Audiences modules enable you to create a custom audience and add emails or users to the custom audience in your Facebook Ad account.
Getting Started With Facebook Custom Audiences
Prerequisites
A Facebook account
Ad account in your Facebook Business Manager
Agreed Custom Audience terms
In order to use Facebook Offline Conversions with Make, it is necessary to have a Facebook account and a Facebook Business Manager account.
Connect Facebook to Make
Log in to your Make account, add any Facebook Custom Audience module scenario, and click the Add button next to the Connection Field.
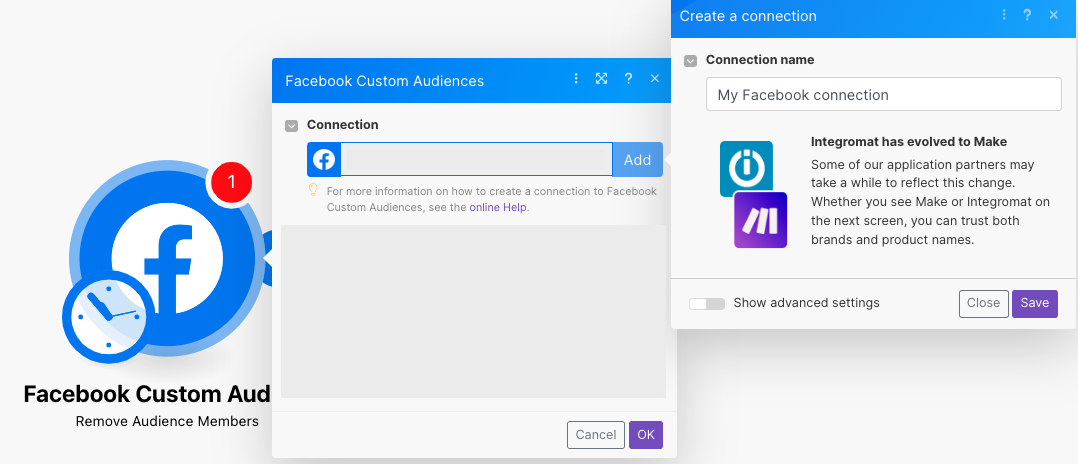
Optional: In the Connection field, enter a name for the connection.
Click Save.
Confirm the access by clicking OK.
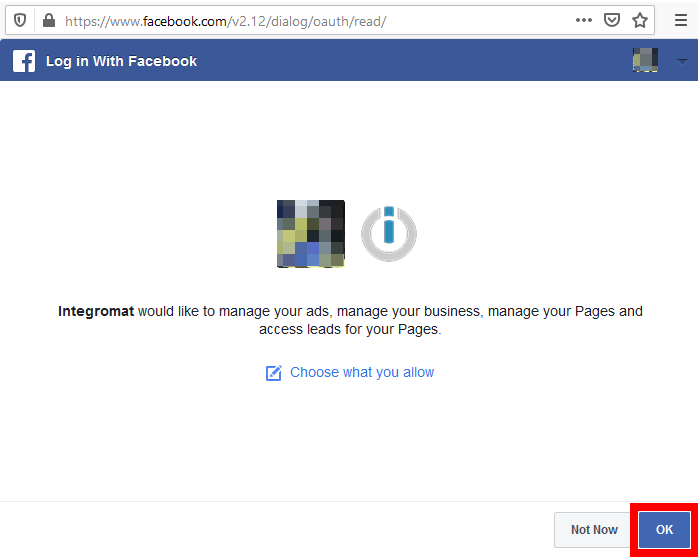
You have successfully connected the app and can now edit or add more Facebook Custom Audience modules.
Custom Audiences
Creates a custom audience.
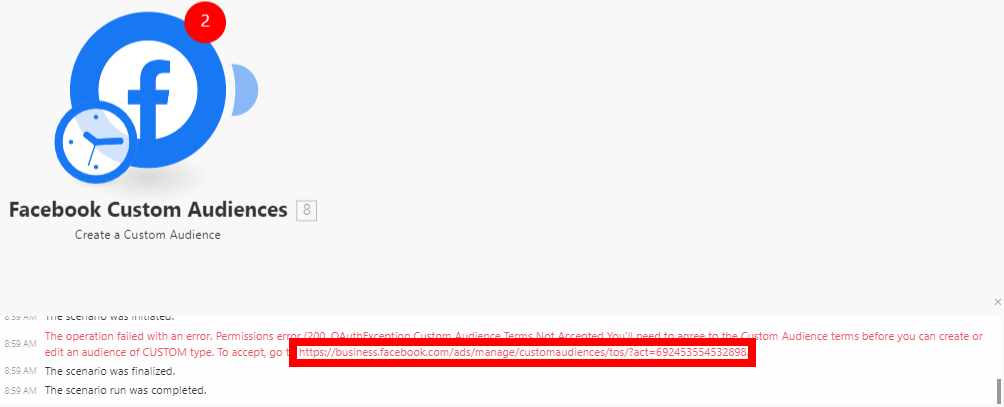
Note
If the following error is returned, you must go to the URL provided and accept the Custom Audiences Terms.
Connection | Establish a connection to your Facebook account. |
Business Manager | Select the Business Manager that contains the ad account you want to use. |
Ad Account | Select the ad account where you want to create a custom audience. |
Name | Enter a name for the new custom audience. |
Description | Enter the description of the custom audience. |
Adds users with multiple details to the custom audience.
Note
You can add an unlimited number of records to an audience, but there is a maximum of 10,000 at a time. It may take up to 1 hour before Facebook adds users to an audience.
Remove audience members by email or external ID.
Lookalike Audiences
You can create a lookalike audience using the following module.
Create a Lookalike Audience
Creates a lookalike audience. Lookalike audiences take several sets of people as seeds then Facebook builds an audience of similar people.
Page Fan Lookalike Audiences
Create a Page Fan Lookalike Audience
Create a lookalike audience based on people who like your page.
Campaign and Ad Set Lookalike Audience
Create a Campaign or Ad Set Conversion Lookalike Audience
Creates a campaign or ad set lookalike audience.
Value-Based Custom Audience
Creates a value-based custom audience.
Populates a seed audience. You need to populate the new audience with supported identifiers and the schema key lookalike value.
Creates a value-based lookalike.
Troubleshooting
Failed to Add/Update a Custom Audience - Error "2650"
Issues: While adding users using the Add Emails/Users to a Custom Audience module, it returns the following error:
Error "2650"
Failed to Update Custom Audience
(#2650) Failed to update the custom audience: This audience was created from data source FILE_IMPORTED.MULTI_HASHES, which does not support data source FILE_IMPORTED.HASHES_OR_USER_IDS. (2650, OAuthException )
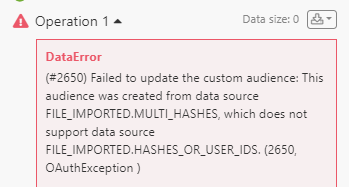
Reason: Facebook Custom Audiences won't let Make add emails or users unless the Custom Audience were created by Make. This error indicates that the selected Custom Audience wasn't created by Make, but by another platform or via manual upload.
Solution:
Create a custom audience from Make using Create Custom Audience or other modules using a scenario.
Now go back to your previous scenario, and add your member to that newly created custom audience.
If you continue to receive this response, you may need to accept Facebook Custom Audience Terms and Condition in each of your ad accounts. You can follow the steps below.
Facebook Ad Account:
1. Open your Facebook’s Custom Audiences Terms.
2. Select your Ad Account under the Account dropdown.
3. Click Accept.
4. Open your Facebook’s Business Tools Terms.
5. Select your Ad Account under the Account dropdown.
6. Click Accept.
Business Manager Account:
1. Find your ad account ID. Check this guide, as Facebook provides instructions on how to locate the account ID.
2. Once you copy the ID, add it to the end of the following URL after the equal sign, and open it in your browser: https://business.facebook.com/ads/manage/customaudiences/tos/?act=
3. Click Accept.
4. Repeat steps 1-3 for any other ad accounts.