Neaktor
With Neaktor modules in Make, you can create, update, monitor, and delete your tasks in your Neaktor account and make API calls.
To get started with Neaktor, create an account at app.neaktor.com.
Note
The module dialog fields that are displayed in bold (in the Make scenario, not in this documentation article) are mandatory.
Connect Neaktor to Make
To make a connection to Neaktor you need to obtain a Client ID and Client Secret from your Neaktor account.
Log in to your Neaktor account.
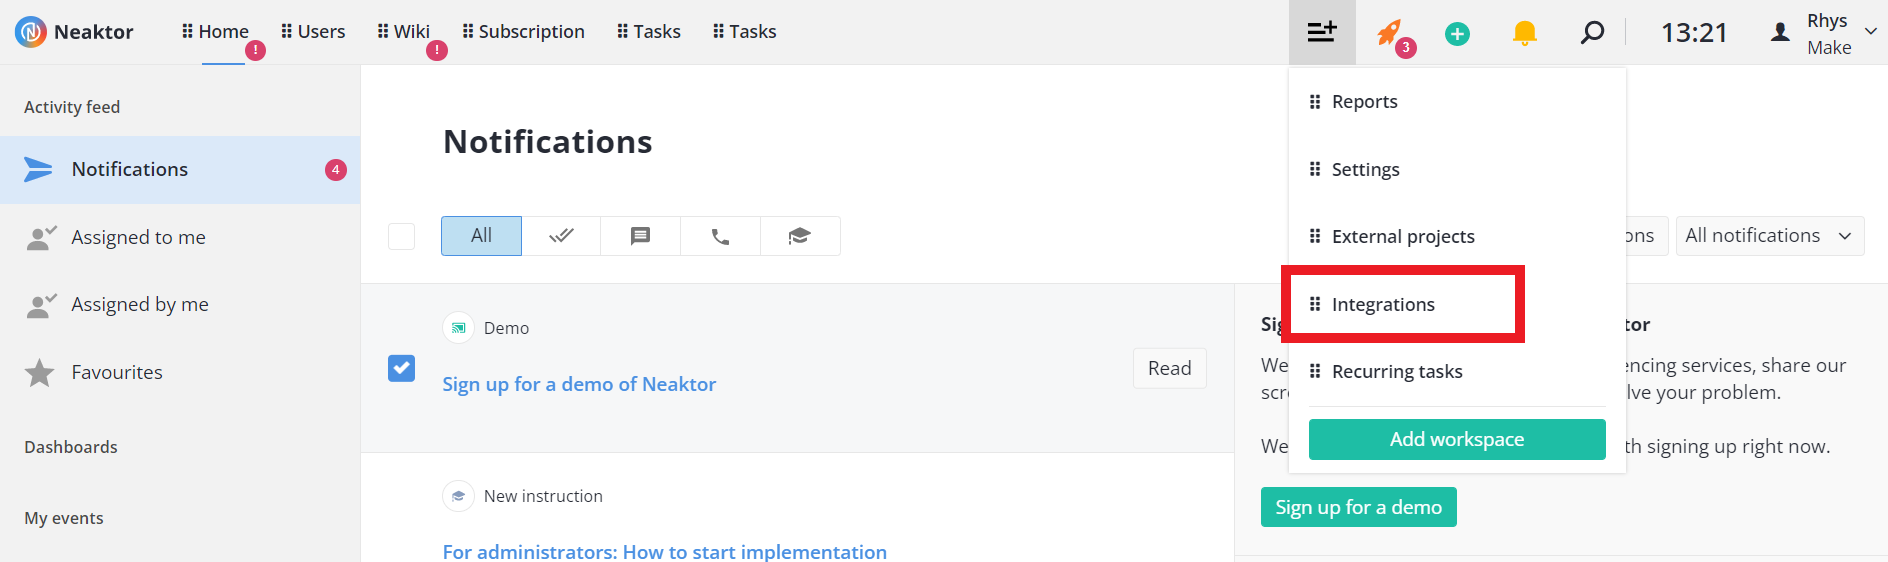
Click the 3-line menu icon at the top of the page, then click Integrations.
Click API keys.
Click Generate new key.
From the two options, select OAuth2 keychain. Click Create API key.
Change the API key status to Read and write.
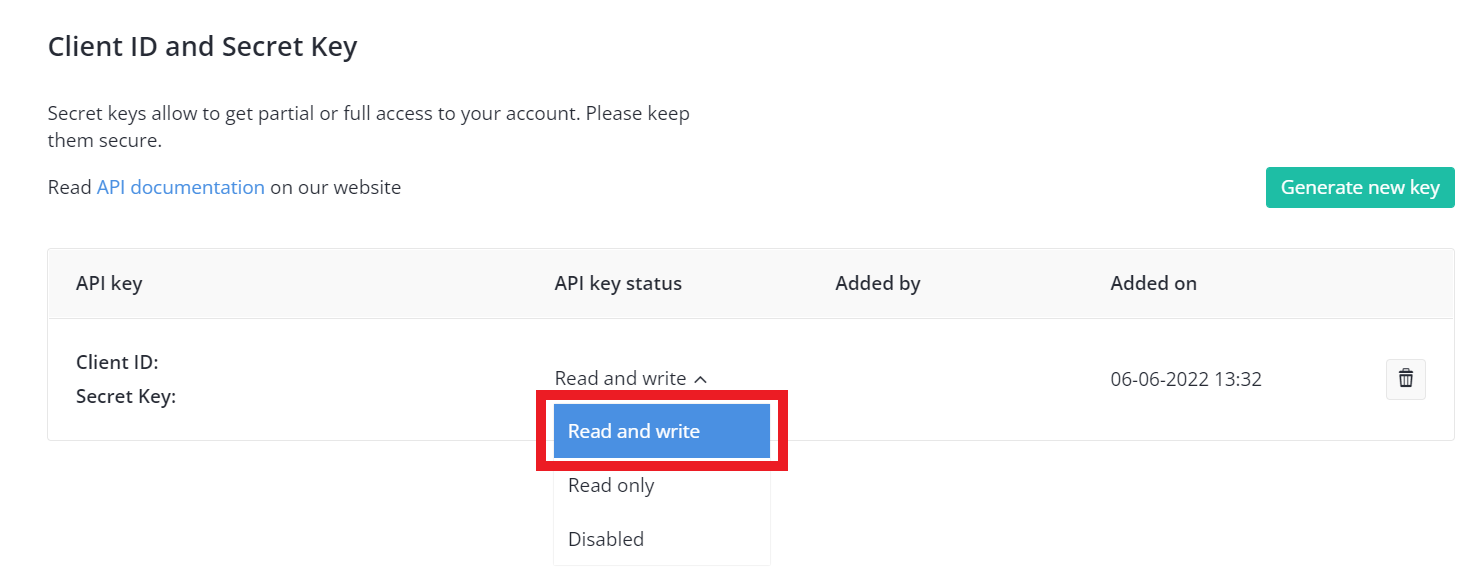
Copy the both the Client ID and Secret Key to your clipboard.
Go to your Make scenario and select the Neaktor module you want to use.
Under Connection, click Add.
Give your new connection a name.
Paste the Client ID and Client secret in the fields below.
Click Save.
A prompt appears asking to grant Make read and write access to your Neaktor account data. Click allow.
You have successfully established the connection.
Tasks
Triggers when a task is created or deleted.
Note
See Setting up a Neaktor webhook to add the webhook to your Neaktor account.
Webhook | Choose an existing webhook or add a new one.
|
Search for tasks by specified parameters.
Connection | |
Project ID | Enter or select the ID of the project you want to retrieve tasks from. |
Model ID | Enter or select the ID of the process model you want to retrieve tasks from. |
Last Modified Date | Search for tasks that have been edited after the date you provide here. See the list of supported date formats. |
Start Date | Search for tasks that started after the date you provide here. See the list of supported date formats. |
End Date | Search for tasks that finished before the date you provide here. See the list of supported date formats. |
Created Date | Search for tasks that were created after the date you provide here. See the list of supported date formats. |
Limit | Enter the maximum number of tasks Make returns during one scenario execution cycle. |
Gets a task.
Connection | |
Task ID | Enter or select the ID of the task you want to retrieve. |
Creates a task.
Connection | |||||
Assignee |
| ||||
Model ID | Enter or select the ID of the process model you want to create a task for. | ||||
Parent ID | Enter or select the ID of the parent task. | ||||
Task Links | Enter or select any task links to include. | ||||
Description | Add a text description for the task. | ||||
End date | Enter the end date of the task. See the list of supported date formats. | ||||
Priority | Select a priority level.
| ||||
Start date | Enter the start date of the task. See the list of supported date formats. | ||||
Subject | Enter a subject. | ||||
Tags | Add any tags to the task. |
Updates a task.
Connection | |
Task ID | Enter or select the ID of the task you want to update. |
Model ID | Enter or select the ID of the process model in which you want to update a task. |
Description | Add a text description for the task. |
End date | Enter the end date of the task. See the list of supported date formats. |
Priority | Select a priority level.
|
Start date | Enter the start date of the task. See the list of supported date formats. |
Subject | Enter a subject. |
Tags | Add any tags to the task. |
Performer ID | Enter or select the ID of the task performer. |
Performer Type | Enter or select the type of entity to perform the task.
|
Task Links | Enter or select any task links to include. |
Parent ID | Enter or select the ID of the parent task. |
Deletes a task.
Connection | |
Task ID | Enter or select the ID of the task you want to delete. |
Other
Performs an arbitrary authorized API call.
Connection | |
URL | Enter a path relative to For the list of available endpoints, refer to the Neaktor API documentation. |
Method | Select the HTTP method you want to use: GET to retrieve information for an entry. POST to create a new entry. PUT to update/replace an existing entry. PATCH to make a partial entry update. DELETE to delete an entry. |
Headers | Enter the desired request headers. You don't have to add authorization headers; we already did that for you. |
Query String | Enter the request query string. |
Body | Enter the body content for your API call. |
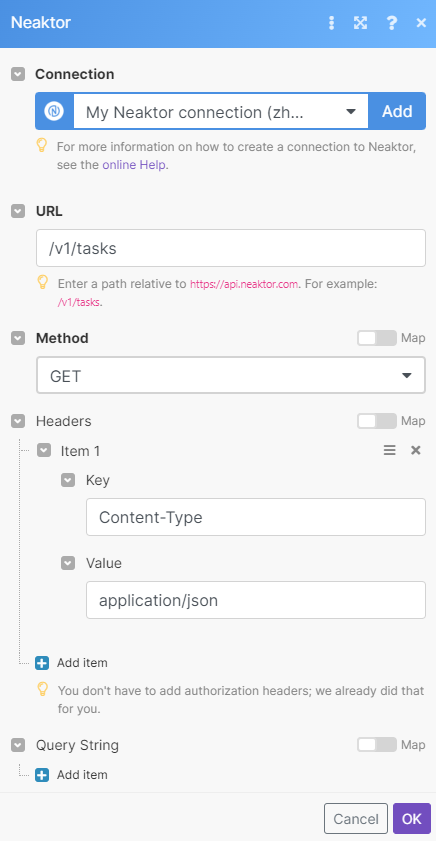
The following API call returns a list of all the tasks in your Neaktor account.
URL: /v1/tasks
Method: GET
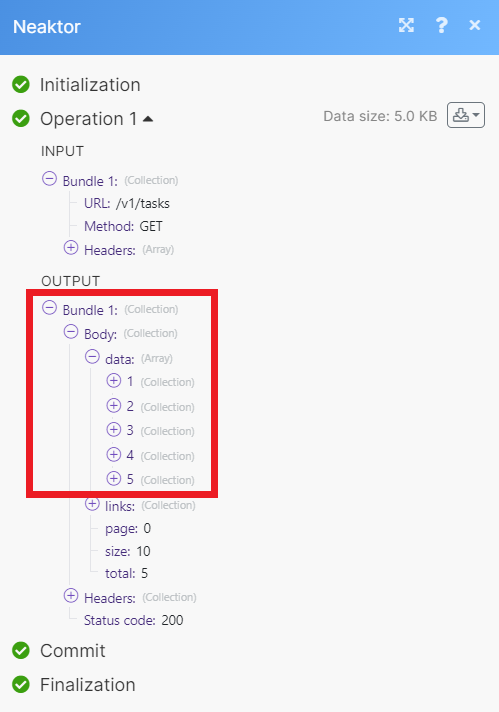
Matches of the search can be found in the module's Output under Bundle > Body > data. Our example returned 5 tasks:
Setting up a Neaktor webhook
Note
Only the account owner or a user with administrator rights can create webhooks in Neaktor.
In your Make scenario, select the Neaktor Watch Tasks module.
Under Webhook, click Add.
Give your new webhook a name, then select the connection you want to use.
Click Save.
Copy the webhook URL address to your clipboard.
Log in to your Neaktor account.
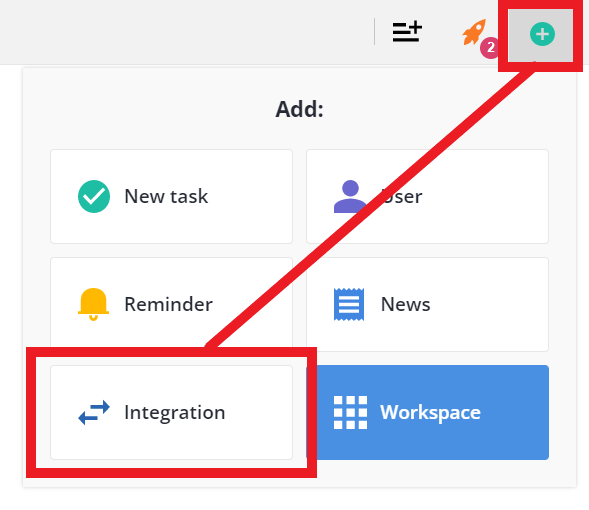
Click the plus icon at the top of the page, then click Integration.
Click Webhooks.
Click Add Webhook.
Give your webhook a anme in the box provided.
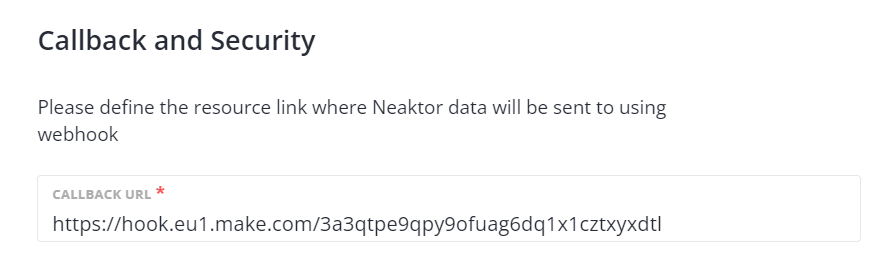
Enter the webhook URL in the Callback URL box.
Configure the rest of you webhook how you would like.
Click Save.
You have successfully set up the webhook.